WPC Terrace Flooring Installation Video: Tips and Tricks
Introduction
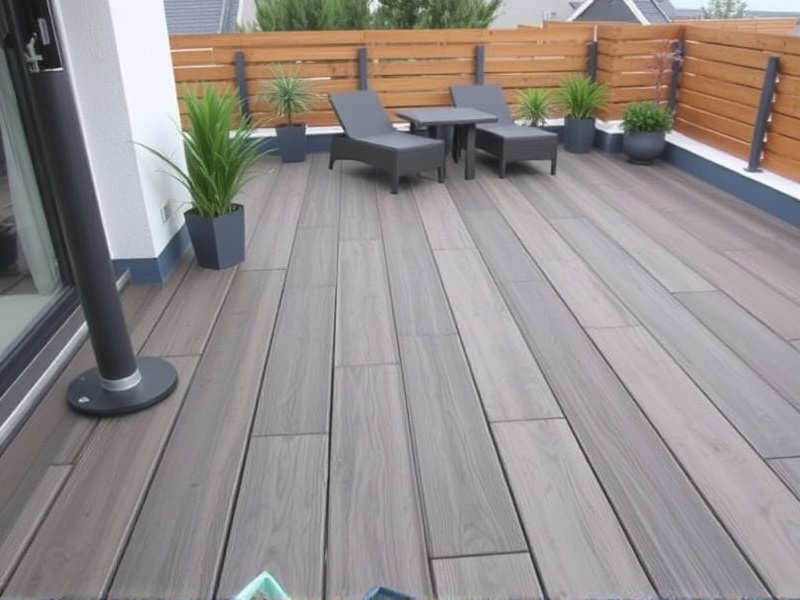
Wood Plastic Composite (WPC) terrace flooring has become increasingly popular for its durability, low maintenance, and aesthetic appeal. Whether you’re renovating your outdoor space or planning a new construction project, installing WPC terrace flooring can significantly enhance the look and functionality of your area. This article aims to provide insights into the practical aspects of installing WPC terrace flooring, highlighting specific techniques, tools, and common pitfalls to avoid. The information is complemented by an accompanying installation video, which visually demonstrates each step of the process.
Key Techniques and Tools for Successful Installation
The success of any WPC terrace flooring installation hinges on the proper use of techniques and tools. First and foremost, it is essential to prepare the subfloor adequately. Ensure that the surface is clean, level, and free from any debris or moisture. A flat surface is crucial for ensuring that the WPC boards are installed evenly and securely. Refer to the video for a detailed demonstration of how to prepare the subfloor effectively.
Another critical aspect is the cutting of the WPC boards. Unlike traditional wood, WPC boards do not splinter when cut, making them easier to handle. However, using the right tools is still important. A fine-toothed saw is recommended for smooth cuts. The video provides a visual guide on how to achieve precise cuts, which are vital for a seamless installation.
Common Pitfalls to Avoid
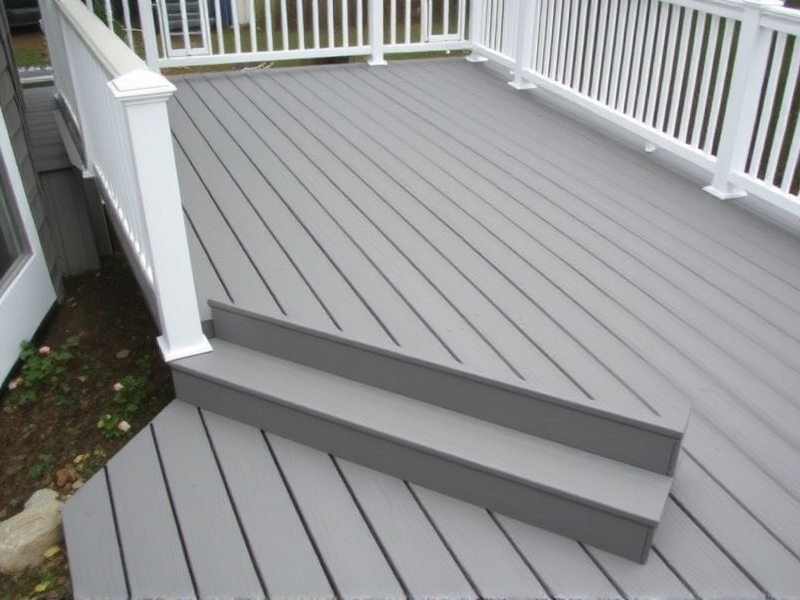
One common mistake during WPC terrace flooring installation is improper spacing between boards. Proper spacing allows for expansion and contraction due to temperature changes. Overlooking this detail can lead to warping or buckling of the boards. The video emphasizes the importance of maintaining consistent gaps between boards, typically around 1/8 inch.
Additionally, failing to secure the boards properly can result in loose installations. Use appropriate fasteners, such as screws or nails designed specifically for WPC materials. The video showcases the correct technique for securing the boards, ensuring they remain stable over time.
Conclusion
Installing WPC terrace flooring can be a rewarding DIY project with the right approach. By following the techniques and tools highlighted in this article and the accompanying video, you can ensure a successful installation. Remember to pay attention to details like subfloor preparation, board cutting, spacing, and securing. With these tips and tricks, your new terrace will not only look great but also withstand the test of time.
Reference
How to Install WPC Flooring, Home Depot.

Reviews
There are no reviews yet.