WPC Fence Board Installation Tips and Tricks
Introduction
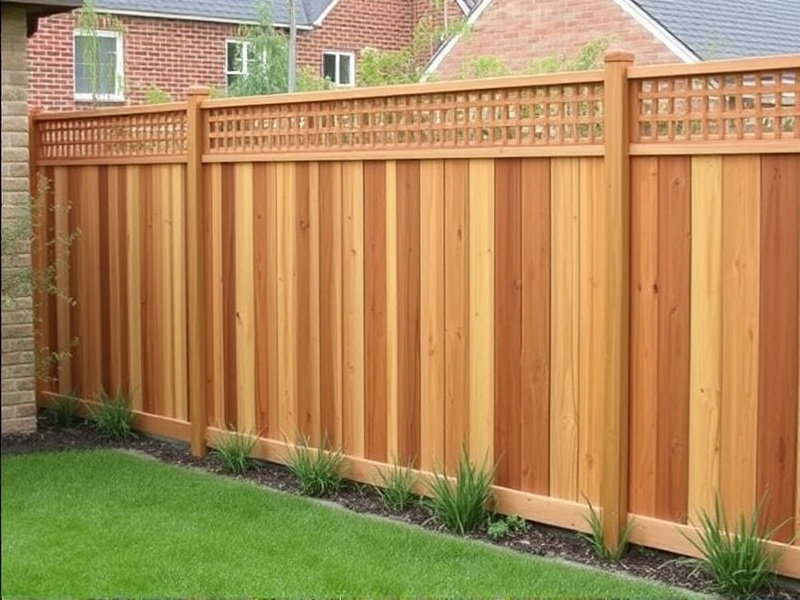
Wood Plastic Composite (WPC) fence boards are becoming increasingly popular due to their durability, low maintenance requirements, and environmental friendliness. Unlike traditional wood fences, WPC fence boards resist rotting, warping, and insect damage, making them a long-lasting investment for your property. However, installing WPC fence boards can be a daunting task if you’re not familiar with the process. This article aims to provide you with detailed steps on how to install WPC fence boards, including the necessary tools, preparation work, and installation techniques.
Necessary Tools and Materials
To successfully install WPC fence boards, you’ll need the following tools and materials:
- A level
- A drill
- Screws
- A post-hole digger
- Concrete mix
- Measuring tape
- Post caps
- WPC fence boards
- Galvanized metal brackets
Preparation Work
Before you start installing your WPC fence boards, it’s crucial to prepare the site. Begin by measuring the area where you want to install the fence and marking the location of each post using stakes and string. Ensure that the ground is level and clear of any debris or obstacles. Dig holes for the posts, ensuring they are deep enough—typically about one-third the height of the fence above ground—to provide stability. The holes should be slightly wider than the posts to allow for easy placement and alignment.
Installation Techniques
Once your site is prepared, you can begin installing the posts. Place the posts in the holes and use a level to ensure they are straight. Fill the holes with concrete, leaving a few inches at the top for settling. Allow the concrete to cure according to the manufacturer’s instructions before proceeding. Next, attach galvanized metal brackets to the posts, which will secure the horizontal rails. Attach the rails to the brackets using screws, ensuring they are level and evenly spaced.
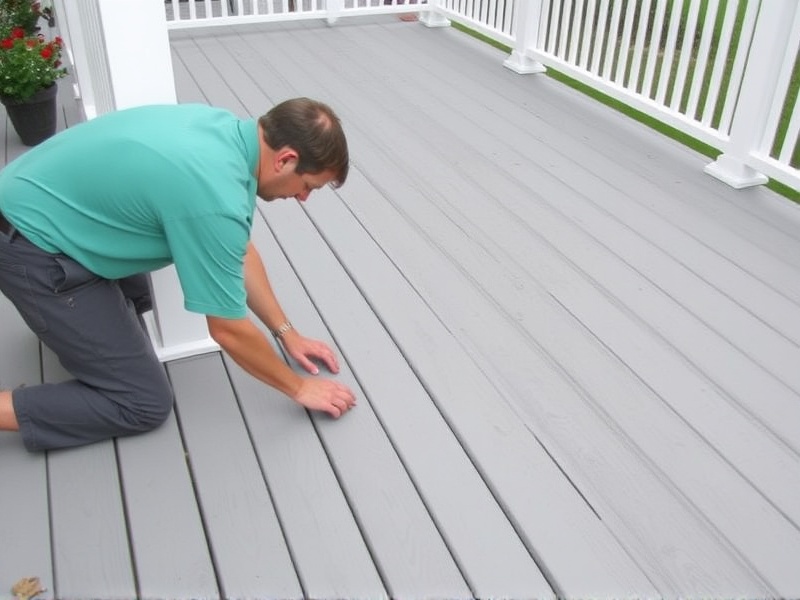
Finally, attach the WPC fence boards to the rails. Start from one end of the fence and work your way along, securing the boards with screws. Make sure each board is flush against the previous one and aligned properly. Use a level periodically to ensure the fence remains straight. Once all the boards are attached, install post caps to protect the tops of the posts from weathering.
Tips and Tricks
To ensure a successful installation, follow these additional tips:
- Always wear protective gear such as gloves and safety glasses during installation.
- Use a moisture barrier between the ground and the bottom of the posts to prevent water damage.
- Leave a small gap between each WPC fence board to allow for expansion and contraction due to temperature changes.
- Consider consulting a professional if you encounter any unexpected issues during installation.
Conclusion
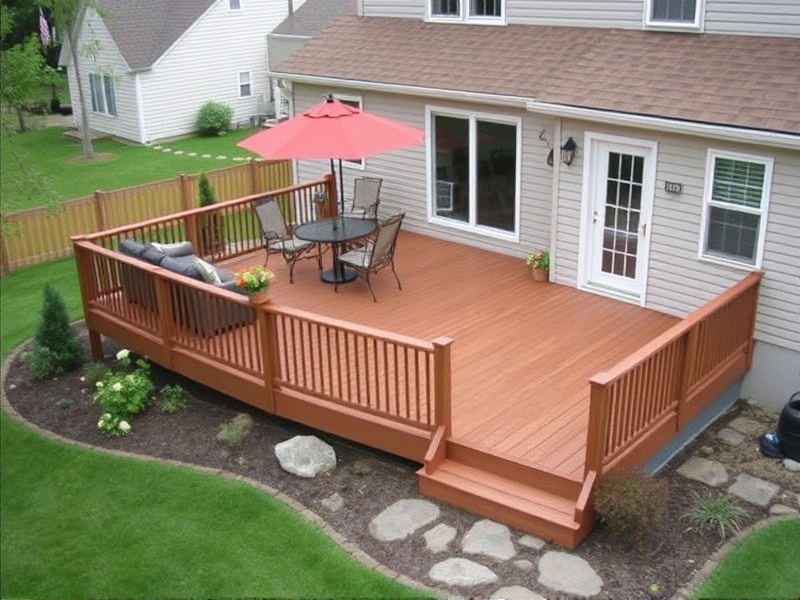
Installing WPC fence boards is a rewarding project that enhances the appearance and security of your property. By following the steps outlined in this guide and taking the necessary precautions, you can achieve a professional-looking fence that will last for years. Remember, proper planning and attention to detail are key to a successful installation. Happy building!


Reviews
There are no reviews yet.