WPC Composite Decking Installation Tips
Introduction
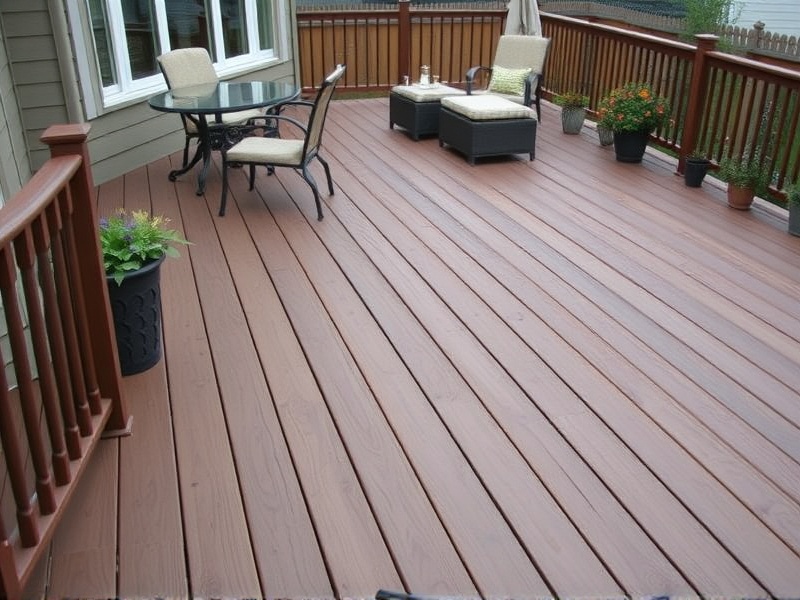
Wood Plastic Composite (WPC) decking has become a popular choice for outdoor living spaces due to its durability, low maintenance, and aesthetic appeal. Unlike traditional wood decks, WPC decking does not require staining or sealing, making it an ideal option for those looking for a hassle-free outdoor area. However, installing a WPC deck requires careful planning and execution to ensure it is both functional and safe. This article will provide you with step-by-step instructions on how to properly install WPC composite decking, highlighting important considerations such as spacing between boards, proper fastening techniques, and ensuring the deck is level and secure.
Step-by-Step Instructions
Planning and Preparation
Before you start installing your WPC composite deck, it’s crucial to plan the layout and prepare the site. Ensure that the area where you want to build the deck is level and free of any obstructions. You should also check local building codes and regulations to make sure your project complies with them. Once the site is ready, gather all necessary materials and tools, including WPC boards, joists, screws, and a drill.
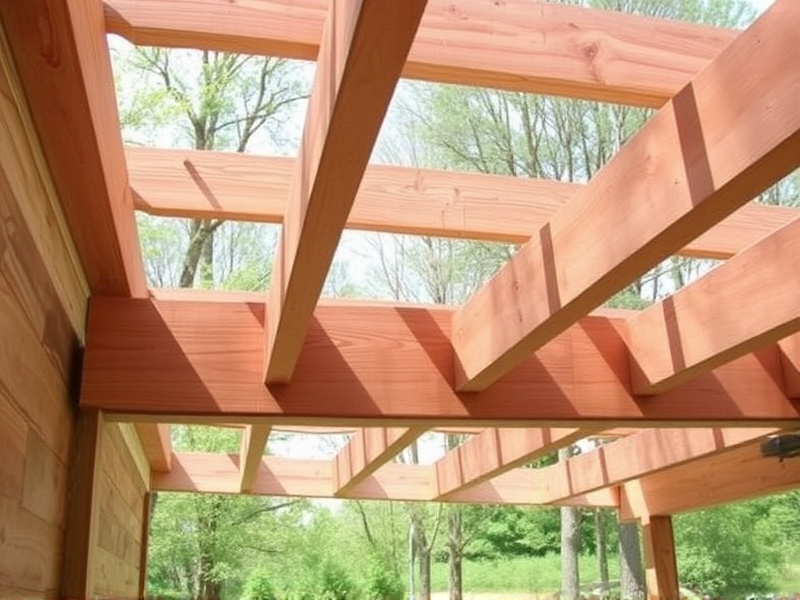
Installing the Frame
The first step in installing your WPC composite deck is setting up the frame. This involves laying out the perimeter of the deck using pressure-treated lumber or metal beams as the foundation. Make sure the frame is square by measuring diagonally from corner to corner; the measurements should be equal. Secure the corners with galvanized nails or screws to create a sturdy base.
Adding Joists
Next, add the joists perpendicular to the outer frame. Space the joists according to manufacturer recommendations, typically around 16 inches on center. Use metal hangers to attach the joists to the frame, ensuring they are level and securely fastened. This provides additional support and stability to the deck structure.
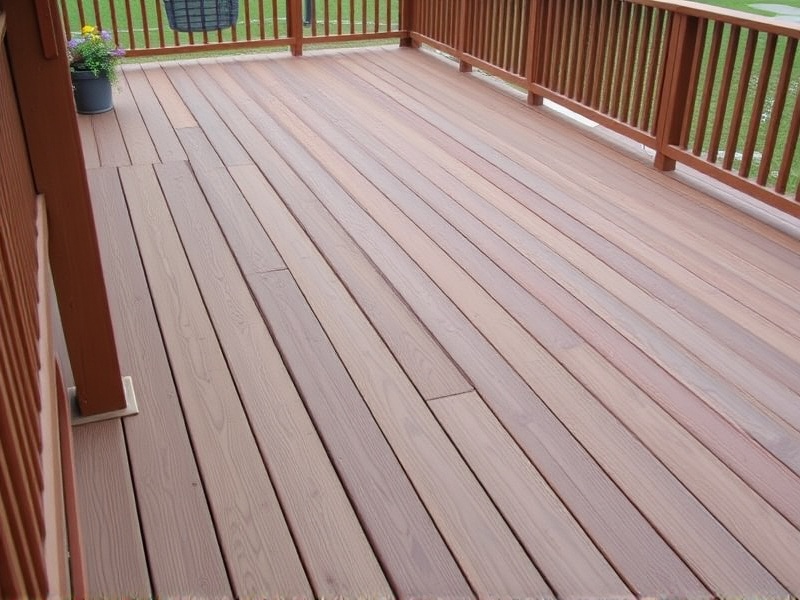
Installing the Deck Boards
With the frame and joists in place, you can now begin installing the WPC composite decking boards. Start at one end of the deck and work your way across, leaving a small gap (usually 1/8 inch) between each board to allow for expansion and contraction due to temperature changes. Use hidden fasteners or screws specifically designed for WPC materials to attach the boards to the joists. Hidden fasteners create a clean, seamless look while screws offer more visible but equally effective attachment.
Important Considerations
Spacing Between Boards
Proper spacing between WPC composite decking boards is essential to prevent warping and ensure longevity. The gaps help accommodate thermal expansion and contraction, which can occur due to weather conditions. Typically, a gap of about 1/8 inch is recommended, but always refer to the manufacturer’s guidelines for specific recommendations.
Proper Fastening Techniques
Using appropriate fastening methods is critical to the durability and safety of your WPC composite deck. Hidden fasteners or screws should be used to secure the boards to the underlying structure. Hidden fasteners are inserted into pre-drilled holes in the side of the board, creating a clean, smooth surface. Alternatively, screws can be used, but ensure they are compatible with composite materials to avoid damage during installation.
Ensuring Levelness and Stability
To ensure your WPC composite deck is level and secure, use a spirit level to check the flatness of the deck surface regularly throughout the installation process. Adjust the height of the joists as needed to maintain a consistent level. Additionally, ensure all connections between the deck boards and joists are tight and secure to prevent any wobbling or movement over time.
Conclusion
Installing a WPC composite deck is a rewarding project that enhances your outdoor living space. By following these detailed steps and considering key factors like spacing, fastening techniques, and ensuring levelness, you can create a beautiful, durable, and safe deck that will last for years. Remember to always refer to the manufacturer’s guidelines and seek professional advice if needed. Happy building!


Reviews
There are no reviews yet.