WPC Bretter mit Nut und Feder: Installation Tips and Tricks
Introduction
Wood Plastic Composite (WPC) boards have become increasingly popular for outdoor flooring and decking projects due to their durability, low maintenance requirements, and eco-friendly nature. One of the most common types of WPC boards used in these applications are those with tongue and groove joints. This article will provide a comprehensive guide on how to install WPC boards with tongue and groove joints, including step-by-step instructions, necessary tools, and common pitfalls to avoid during the installation process.
Step-by-Step Instructions for Installing WPC Boards with Tongue and Groove Joints
The installation of WPC boards with tongue and groove joints is similar to that of traditional wooden planks but comes with its own set of nuances. Here’s a detailed guide to help you get started:
- Prepare the Substrate: Ensure that the surface on which you will be installing the WPC boards is level, dry, and clean. If you are working on an existing deck, remove any old materials and inspect the structure for any damage or rot. A solid substrate is crucial for ensuring that your new WPC deck lasts long.
- Measure and Mark: Measure the area where you want to install the WPC boards and mark it out. This will help you determine the number of boards you need and where they should be placed.
- Cut the Boards: Use a circular saw or a miter saw to cut the WPC boards to size. Be sure to measure twice and cut once to avoid mistakes.
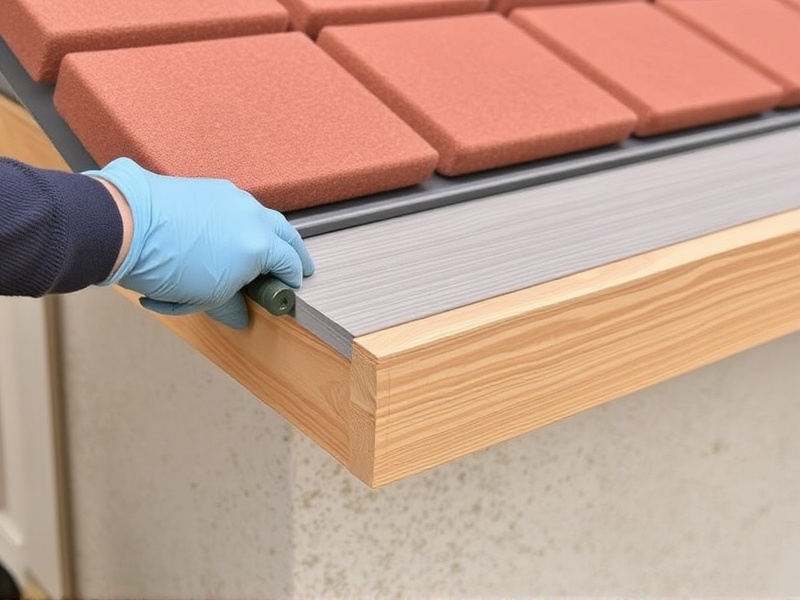
- Install the First Board: Start by laying the first board along one edge of your marked-out area. Secure it using screws or nails, making sure to place them through the tongue end of the board. This will ensure that the groove side of subsequent boards can lock into place easily.
- Continue Laying Boards: Continue laying the remaining boards, ensuring each board locks into the previous one by inserting the tongue into the groove. Leave a small gap between boards to allow for expansion.
- Secure the Boards: Once all boards are laid, secure them by screwing or nailing through the tongue end. It’s important to avoid screwing directly into the groove as this can cause the boards to separate over time.
Necessary Tools for Installing WPC Boards with Tongue and Groove Joints
- Circular saw or miter saw for cutting boards
- Screwdriver or drill for driving screws
- Screws or nails suitable for WPC materials
- Tape measure for measuring and marking
- Level for ensuring the boards are straight
- Gloves and safety glasses for protection
Common Pitfalls to Avoid During Installation
While installing WPC boards with tongue and groove joints may seem straightforward, there are several common pitfalls that could lead to subpar results:
- Ignoring the Expansion Gap: Failing to leave enough space between boards can lead to warping and buckling under temperature changes.
- Improper Fastening: Over-tightening screws or nails can cause the boards to crack. Always use fasteners designed for WPC materials and follow manufacturer recommendations.
- Not Preparing the Surface Properly: An uneven or damp surface can affect the stability and longevity of your deck.
Conclusion
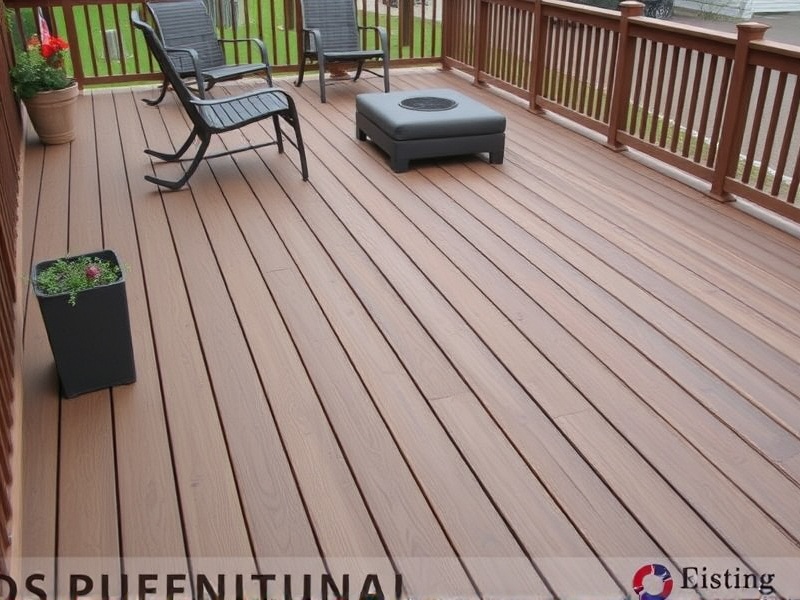
Installing WPC boards with tongue and groove joints requires careful planning and attention to detail. By following the steps outlined above and being mindful of potential pitfalls, you can create a beautiful and durable outdoor space that will last for years to come. Remember, proper preparation and the right tools are key to a successful installation.
Reference
WPC Association: Provides detailed information on WPC materials and installation tips.


Reviews
There are no reviews yet.