Transform Your Outdoor Space with Dino Composite Decking: A Step-by-Step Guide
Introduction
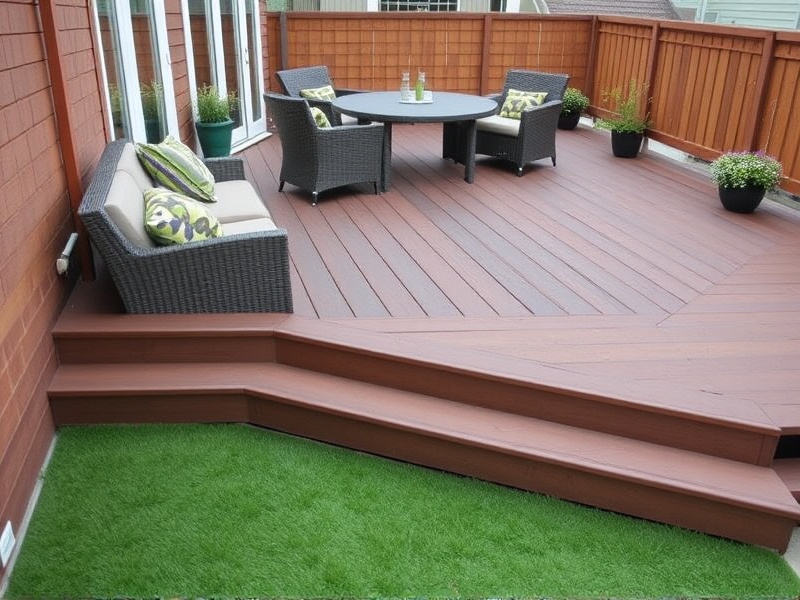
Dino Composite Decking offers an innovative solution for transforming your outdoor space into an inviting and durable area that requires minimal maintenance. This guide will walk you through the process of installing Dino Composite Decking, from gathering the necessary tools to the final touches that will ensure your deck remains beautiful for years to come.
Tools and Materials Needed
To start your project, gather the following materials and tools:
- Dino Composite Decking boards: Ensure you measure your space accurately and order enough boards plus some extra for cuts and mistakes.
- Joist hangers and screws: These are essential for attaching the decking boards to the frame.
- Decking screws: Choose screws specifically designed for composite materials to avoid splitting the boards.
- Measuring tape, saw, level, drill, square, and spacers: These tools are crucial for accurate measurements and ensuring everything is level and straight.
- Concrete footings or joists: Depending on your existing structure, these may be necessary to create a solid foundation.
Preparation Steps
Before beginning the installation, it’s important to prepare the site. Clear the area of any debris and vegetation. Ensure the ground is level by using a level tool and marking any high or low spots. If needed, add concrete footings or adjust the existing joists to create a stable base. This step is crucial for ensuring the longevity and safety of your deck.
Installation Techniques
The actual installation process can be broken down into several key steps:
- Frame Construction: Start by building the frame according to your design specifications. Use joist hangers and screws to secure the frame to the footings or existing structure.
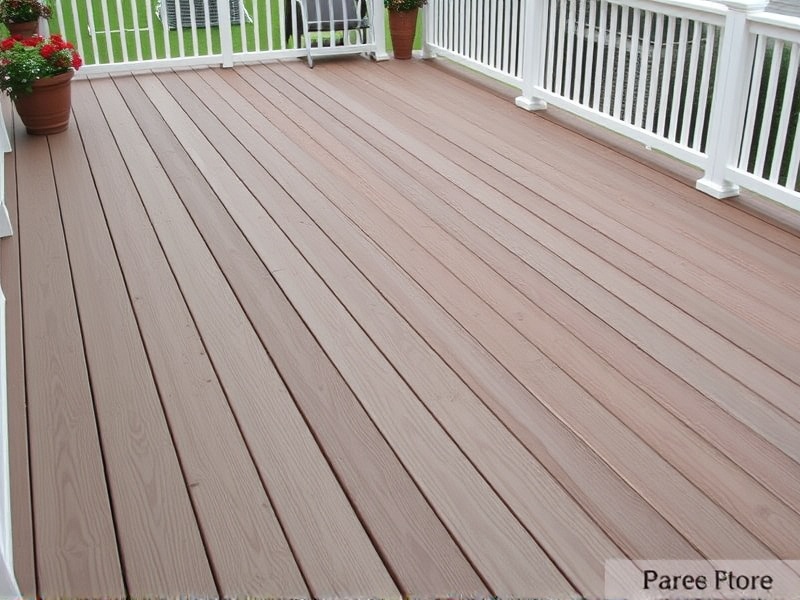
- Laying the Boards: Begin laying the Dino Composite Decking boards perpendicular to the joists. Use spacers to maintain consistent gaps between boards for drainage. Secure each board with screws, making sure they are evenly spaced and tight against the spacers.
- Cutting and Finishing: Measure and cut the boards as needed, ensuring all edges are straight and even. Trim any excess material and finish the edges with appropriate trim pieces if desired.
Maintenance Tips
To keep your Dino Composite Decking looking its best, regular cleaning and occasional resealing are recommended. Use a mild detergent and water to clean the deck periodically, especially after heavy use or exposure to weather elements. For added protection, consider applying a clear sealant every few years to enhance durability and appearance.
Conclusion
Installing Dino Composite Decking is a rewarding project that can significantly enhance your outdoor living space. With careful planning, the right tools, and attention to detail during installation, your new deck will not only be functional but also a beautiful addition to your home. By following these steps and maintenance tips, you can enjoy your deck for many years to come.


Reviews
There are no reviews yet.