
Transform Your Kitchen with Florence XL WPC Vinyl Plank Flooring
Introduction to Florence XL WPC Vinyl Plank Flooring
Welcome to the world of modern kitchen flooring solutions! One standout option that has been making waves in recent years is Florence XL WPC (Wood Plastic Composite) Vinyl Plank Flooring. This innovative flooring choice not only brings a touch of elegance and style to your kitchen but also offers practical advantages such as water resistance and easy maintenance. In this article, we will delve into why Florence XL WPC Vinyl Plank Flooring is an excellent choice for kitchen renovations, offering tips on selecting the right color and style to complement your kitchen decor, and providing a step-by-step guide on how to install it yourself.
The Benefits of Florence XL WPC Vinyl Plank Flooring in Kitchens
Water Resistance: A Game-Changer for Kitchens
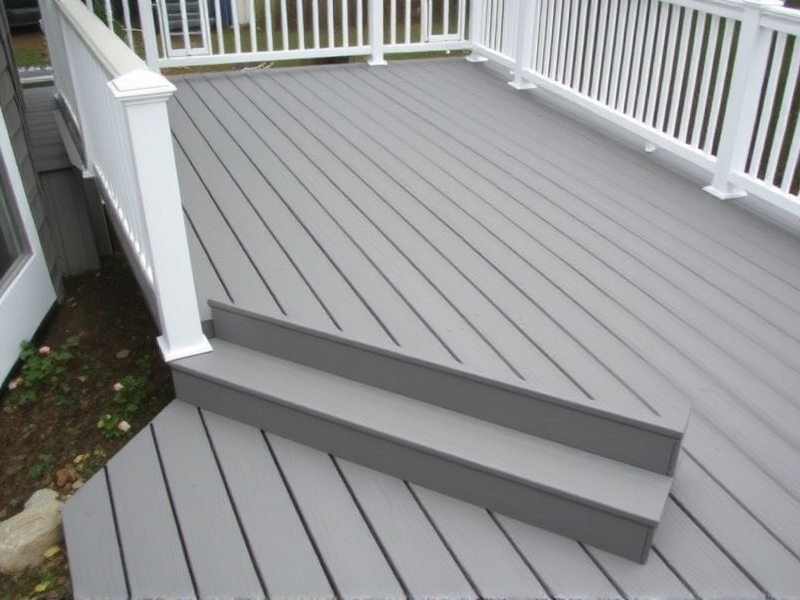
One of the most significant advantages of Florence XL WPC Vinyl Plank Flooring is its water-resistant properties. Kitchens are high-moisture environments due to frequent cooking, cleaning, and even minor spills. Traditional flooring materials like hardwood can warp or swell when exposed to moisture, leading to costly replacements and repairs. Florence XL, however, is designed to withstand these conditions without compromising its integrity. Its core material, which combines wood fibers and plastic, makes it highly resistant to water damage, ensuring your floors remain beautiful and functional for years to come.
Low-Maintenance Qualities: Effortless Care
In addition to its water-resistant qualities, Florence XL WPC Vinyl Plank Flooring is incredibly easy to maintain. Unlike other flooring options that require regular sealing or waxing, this type of flooring can be kept clean with minimal effort. A simple sweep or mop with a damp cloth is usually sufficient to keep your kitchen floor looking pristine. This low-maintenance aspect not only saves you time but also reduces the overall cost of upkeep over the life of the flooring.
Choosing the Right Colors and Styles for Your Kitchen
Selecting Complementary Designs
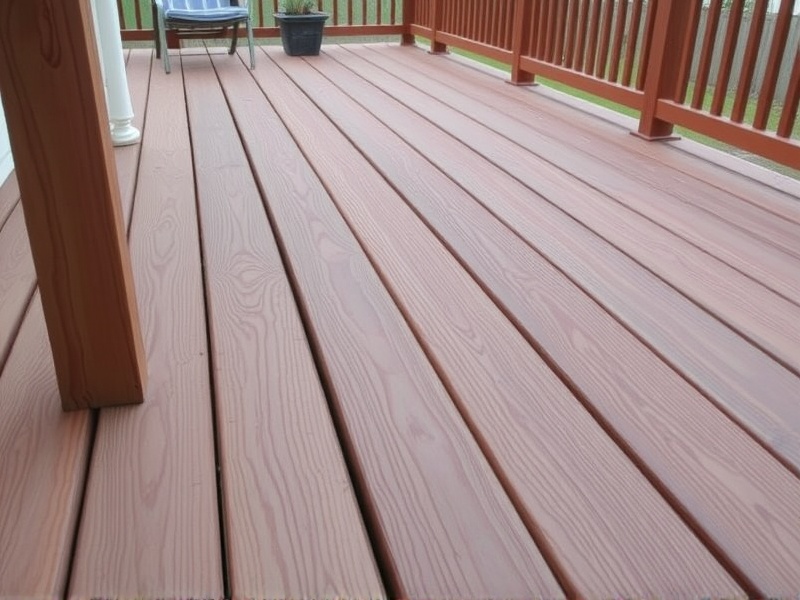
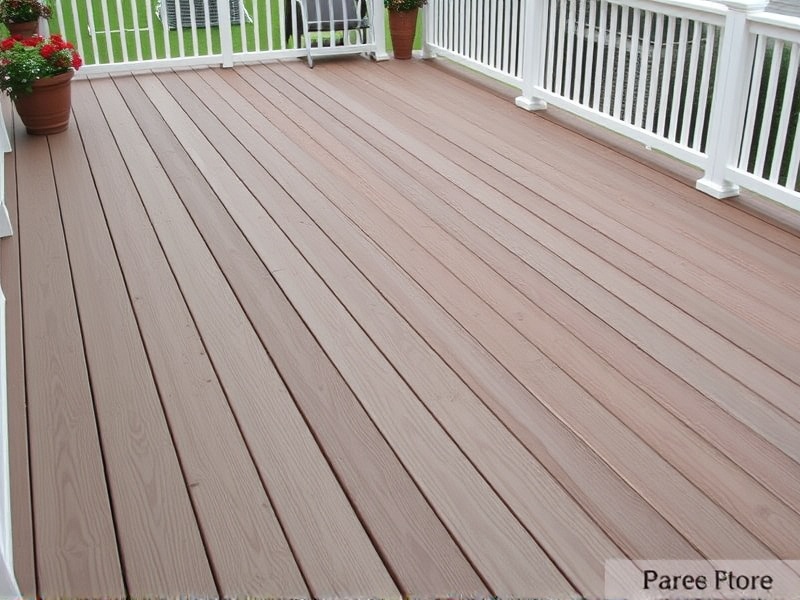
When choosing Florence XL WPC Vinyl Plank Flooring for your kitchen, consider the existing design elements in the room. The flooring should harmonize with your cabinetry, countertops, and any other prominent features. For instance, if you have dark cabinets and a light-colored backsplash, opting for a medium-toned floor can create a balanced look. Conversely, lighter cabinets might benefit from a darker floor to add contrast and depth.
Tips for Color Selection
Consider the natural lighting in your kitchen. If your space receives ample sunlight, you can explore a wider range of colors without worrying about them appearing too dark. On the other hand, rooms with less natural light may benefit from lighter shades to enhance the feeling of spaciousness. Additionally, think about the durability of different colors; darker tones might show scratches or stains more visibly than lighter ones. Explore samples at local stores or request swatches online to get a better sense of how they’ll look in your space.
Step-by-Step Installation Guide
Preparation is Key
Before starting the installation process, ensure that your subfloor is clean, level, and dry. Remove any old flooring materials and fill any gaps or uneven areas with appropriate underlayment or leveling compound. Allow the surface to cure completely according to the manufacturer’s instructions.
Measuring and Cutting
Measure your kitchen accurately to determine the number of planks needed. Start by laying out the first row along a straight line, ensuring it aligns with the longest wall. Cut the final plank to fit snugly against the opposite wall using a utility knife or a specialized flooring cutter. Remember to leave a small expansion gap around the perimeter of the room to accommodate any potential movement.
Laying the Planks
Begin installing the planks in the first row, starting from one corner and working your way across the room. Use a tapping block and mallet to gently tap each plank into place, ensuring tight joints. As you progress, stagger the seams between rows to create a more seamless appearance. Continue this process until you reach the end of the room, adjusting cuts as necessary to fit around obstacles like doorways or fixtures.
Reference Materials
For further reading and detailed instructions, refer to the official documentation provided by the manufacturer. Additionally, the following resources offer valuable insights into kitchen flooring options:
Home Depot’s Guide to Kitchen Flooring
This Old House’s Tips for Choosing the Right Floor for Your Kitchen
Reviews
There are no reviews yet.