
Transform Your Deck with Enhance Naturals Composite Board
Introduction
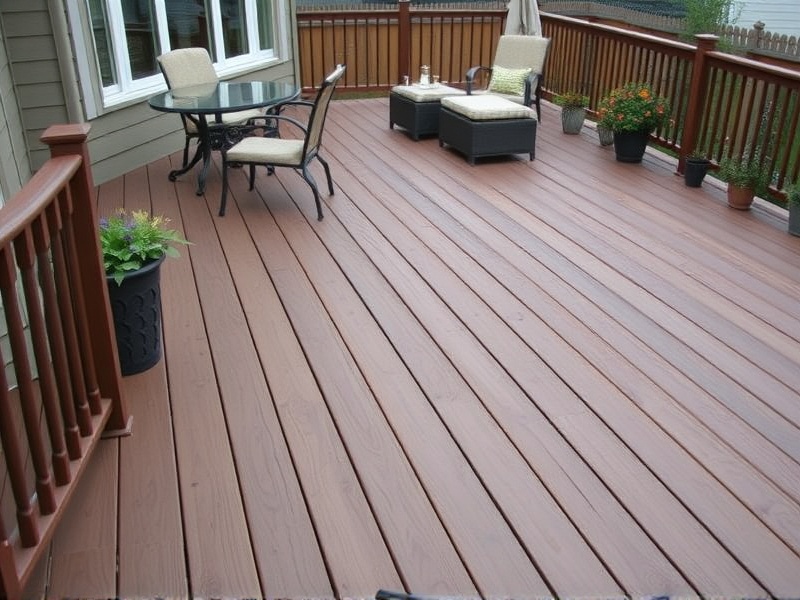
Enhance Naturals Composite Decking Boards offer a durable, low-maintenance solution for transforming your outdoor living space. These boards combine the natural look of wood with the strength and longevity of composite materials. This guide will walk you through the steps of installing Enhance Naturals Composite Decking Boards to achieve a professional finish.
Choosing the Right Tools
To ensure a smooth installation process, it’s essential to have the right tools at hand. You’ll need:
- A circular saw or miter saw for cutting the boards to size.
- A drill for attaching the boards to the deck frame.
- A square to ensure accurate cuts and alignments.
- A screwdriver or impact driver for driving screws into place.
- A level to check that the boards are straight and even.
- Gloves and safety glasses to protect yourself during the installation process.
Having the correct tools will make the job easier and more efficient, leading to better results.
Preparing the Surface
Before installing the Enhance Naturals Composite Decking Boards, prepare the surface by cleaning it thoroughly. Remove any debris, old nails, or screws that could interfere with the new boards. Ensure the deck is level and secure, as uneven surfaces can cause issues during installation. If necessary, reinforce the existing deck structure before proceeding.
Reference: Improvenet – Deck Installation Guide
Installing the Boards
With your tools ready and the surface prepared, you’re now ready to start installing the Enhance Naturals Composite Decking Boards. Follow these steps for a professional finish:
- Start by laying out the first board along one edge of the deck. Use a square to ensure it is perfectly aligned with the edge.
- Cut the boards to the desired length using a circular saw or miter saw. Make sure to leave a small gap (about 1/8 inch) between each board to allow for expansion and contraction due to temperature changes.
- Secure the boards to the deck frame using appropriate screws. The screws should be long enough to penetrate the frame but not so long that they protrude from the underside of the deck.
- Use a level to check that each board is installed evenly. Adjust as needed to maintain a consistent appearance across the entire deck.
- Continue installing boards in this manner until the entire deck is covered.
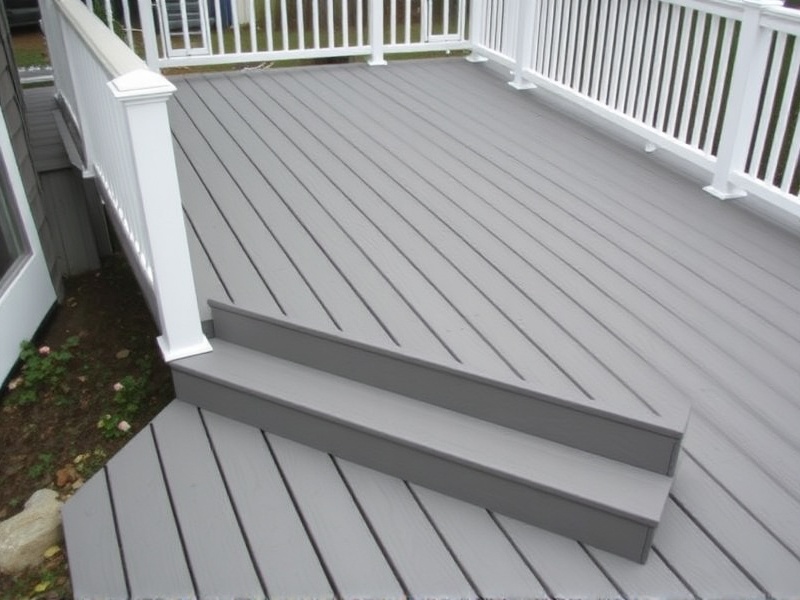
Taking the time to ensure each board is properly aligned and secured will result in a beautiful, professional-looking deck.
Tips for a Smooth Installation Process
- Always wear protective gear, including gloves and safety glasses, when working with power tools.
- Keep a spare set of screws handy in case you need to adjust the position of a board.
- Consider using hidden fasteners for a cleaner look, especially if you plan to stain or paint the deck later.
- Regularly check the alignment of boards using a level to maintain a consistent appearance throughout the project.
Following these tips will help ensure a successful installation and a beautiful finished product.
Conclusion
Transforming your deck with Enhance Naturals Composite Decking Boards is a rewarding DIY project that can significantly enhance your outdoor living space. By following the steps outlined in this guide and taking the time to prepare the surface and choose the right tools, you can achieve a professional finish that will last for years to come. Remember to take safety precautions and follow best practices to ensure a smooth and successful installation process.


Reviews
There are no reviews yet.