The Ultimate Guide to Installing WPC Wall Panels in Bathrooms
Introduction
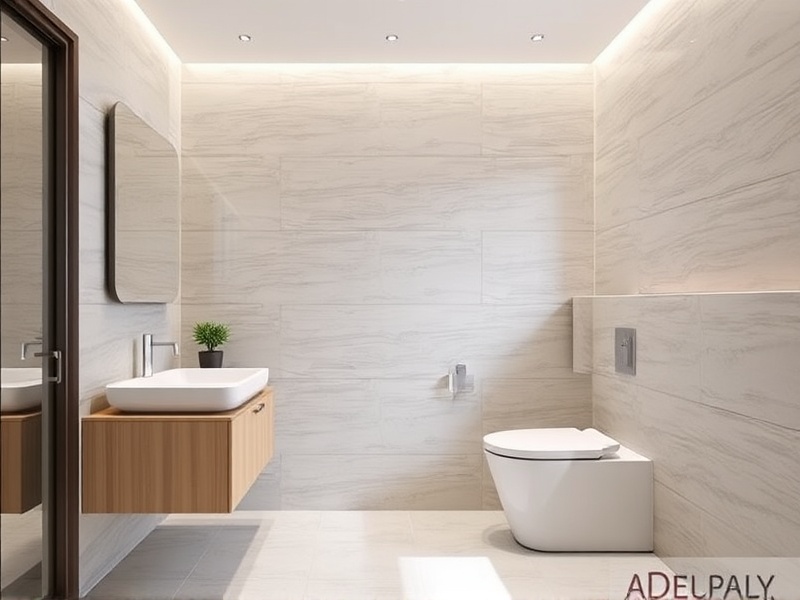
Wood Plastic Composite (WPC) wall panels are becoming increasingly popular in bathrooms due to their durability, moisture resistance, and easy maintenance. These panels can transform the look of your bathroom while providing long-lasting protection against water damage. This guide will walk you through the process of installing WPC wall panels in your bathroom, including necessary tools, common pitfalls to avoid, and tips for maintaining them over time.
Necessary Tools and Materials
To install WPC wall panels in your bathroom, you’ll need the following tools and materials:
- WPC wall panels: Choose panels that are specifically designed for bathroom use, as they are more resistant to moisture.
- Measuring tape: For accurate measurements of your bathroom walls.
- Circular saw or jigsaw: To cut the panels to size.
- Drill: For creating holes where needed.
- Screwdriver: To drive screws into the panels.
- Level: Ensuring that the panels are installed straight.
- Panel adhesive: To provide additional stability.
- Screws and anchors: For securing the panels to the wall.
Step-by-Step Installation Process
Follow these steps to install WPC wall panels in your bathroom:
Preparation
Start by clearing the bathroom of all furniture and fixtures. Measure the walls carefully and mark the locations where the panels will be placed. Ensure that the walls are clean, dry, and free from any loose debris.
Cutting Panels
Using a circular saw or jigsaw, cut the panels to fit the dimensions of your bathroom walls. Be sure to wear safety goggles and follow all manufacturer’s guidelines when cutting the panels.
Installation
Begin by attaching the first panel at the bottom corner of the wall using screws and anchors. Use a level to ensure that the panel is perfectly horizontal. Apply panel adhesive along the edges of the panels for added stability. Continue attaching panels, overlapping joints slightly for a seamless look. Trim any excess material with a saw.
Avoiding Common Pitfalls
Here are some common mistakes to avoid during installation:
- Not allowing enough space for expansion: WPC panels can expand and contract with temperature changes. Leave a small gap at the floor and ceiling to allow for this movement.
- Ignoring proper ventilation: Ensure that your bathroom has adequate ventilation to prevent moisture buildup, which can damage the panels over time.
- Improper cutting technique: Always use the correct tools and techniques when cutting WPC panels to avoid splintering or damaging the edges.
Maintenance Tips
To keep your WPC wall panels looking their best, follow these maintenance tips:
- Regular cleaning: Clean the panels regularly using a damp cloth and mild detergent. Avoid harsh chemicals that could damage the surface.
- Dry thoroughly: After cleaning, make sure the panels are completely dry to prevent water spots and mold growth.
- Inspect periodically: Check the panels periodically for any signs of damage or wear. Address any issues promptly to prevent further damage.
Conclusion
Installing WPC wall panels in your bathroom is a great way to add both beauty and functionality to your space. By following the steps outlined above and avoiding common pitfalls, you can achieve professional-looking results. Remember to maintain the panels properly to ensure they last for years to come.
Reference
How to Install WPC Wall Panels, Home Depot

Reviews
There are no reviews yet.