
The Installation Process of Brown Wood Composite Panel Siding
Introduction
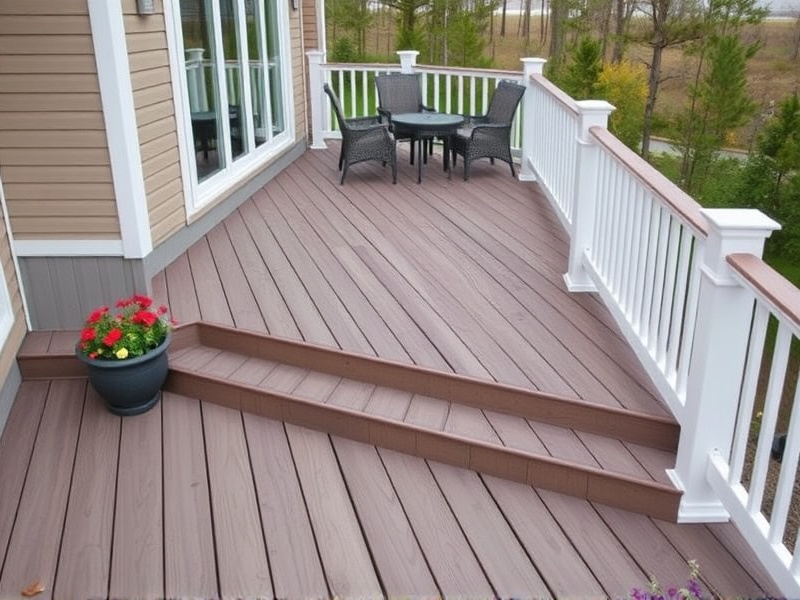
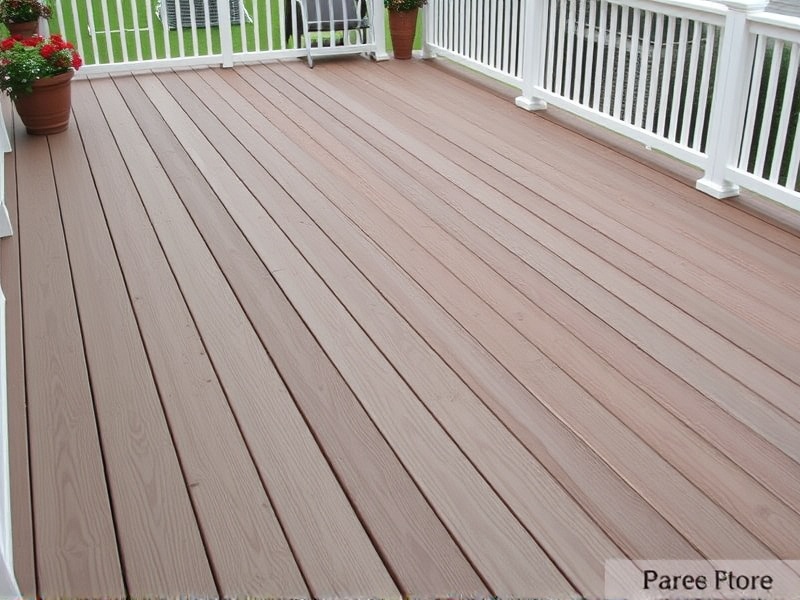
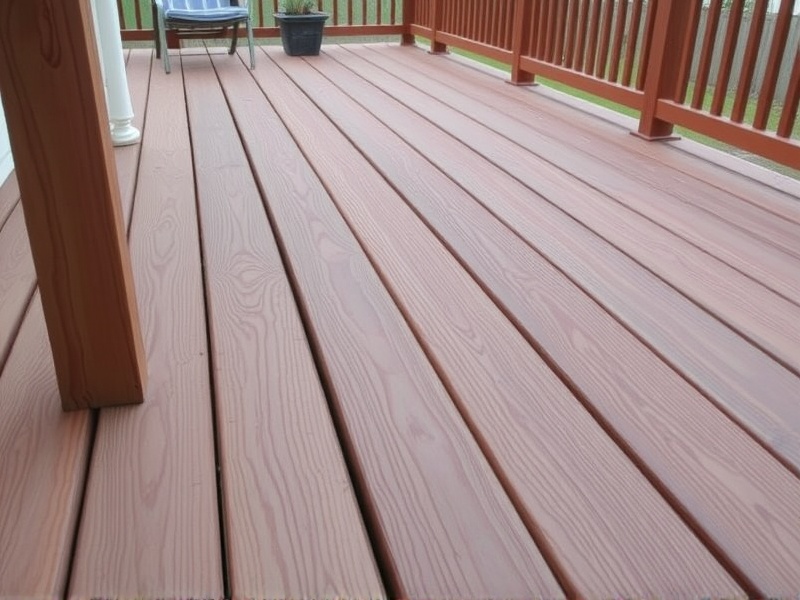
Brown wood composite panel siding is a popular choice for homeowners and contractors due to its durability, aesthetic appeal, and cost-effectiveness. This material combines the natural look of wood with the longevity and resistance to moisture and pests that composite materials offer. Installing brown wood composite panel siding requires careful planning and execution to ensure both the longevity of the product and the satisfaction of the homeowner. In this article, we will detail the installation procedure of brown wood composite panel siding, offering insights into proper techniques, necessary tools, and potential pitfalls during the process.
Preparation and Necessary Tools
Before beginning the installation process, it is crucial to gather all the necessary tools and materials. Essential tools include a circular saw, drill, screwdriver, level, measuring tape, and safety gear such as gloves and goggles. Additionally, you will need screws designed specifically for composite materials and a primer to seal any exposed edges of the panels.
Installation Procedure
Step 1: Preparing the Surface
The first step in installing brown wood composite panel siding is preparing the surface. Ensure that the wall is clean, dry, and free from any debris or old paint. Apply a layer of primer to the entire surface to enhance adhesion and protect against moisture. This step is critical as it ensures that the siding adheres properly and lasts longer.
Step 2: Measuring and Cutting Panels
Measure the walls accurately to determine the number of panels required. Use a circular saw to cut the panels to size, ensuring that cuts are straight and precise. It’s advisable to make slight adjustments during cutting to accommodate for expansion gaps and irregularities in the wall structure.
Step 3: Installing the First Panel
Begin by installing the first panel at one corner of the wall. Use a level to ensure that the panel is perfectly vertical. Secure the panel using screws at regular intervals, starting from the top and moving downwards. Remember to leave a small gap between each panel for expansion.
Step 4: Continuing Installation
Continue installing the remaining panels, overlapping them slightly to create a watertight seal. Use a sealant around the edges if necessary to further prevent water intrusion. Ensure that each panel is securely fastened and aligned correctly before proceeding to the next.
Potential Pitfalls
One common pitfall during installation is not allowing enough space for expansion, which can lead to warping or cracking over time. Another issue is improper sealing, which can result in moisture damage. Always refer to the manufacturer’s guidelines for specific recommendations on spacing and sealing.
Conclusion
Installing brown wood composite panel siding can be a rewarding project when done correctly. By following these steps and being mindful of potential pitfalls, homeowners and contractors can achieve a professional-looking finish that enhances the curb appeal and value of their property. Remember, proper preparation and attention to detail are key to a successful installation.

Reviews
There are no reviews yet.