Shaw WPC Flooring: Installation and Maintenance Tips
Introduction
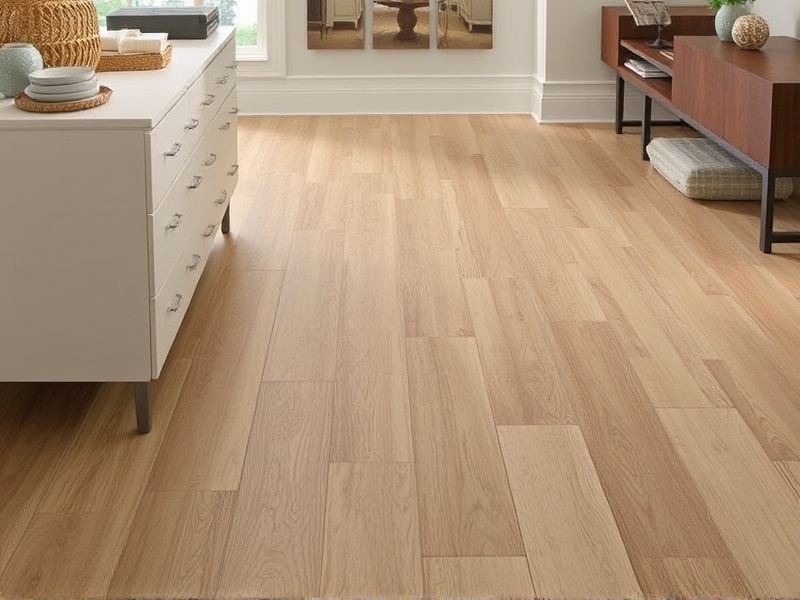
Wood Plastic Composite (WPC) flooring by Shaw is becoming increasingly popular due to its durability, aesthetic appeal, and ease of installation. Shaw WPC flooring combines the beauty of wood with the practicality of plastic, offering a versatile and robust flooring option for both residential and commercial spaces. This comprehensive guide will walk you through the process of installing Shaw WPC flooring yourself, as well as provide essential tips for maintaining it to ensure longevity and appearance.
Necessary Tools and Materials
To successfully install Shaw WPC flooring, you’ll need the following tools and materials:
- A measuring tape
- A circular saw or a handsaw
- A tapping block
- A utility knife
- A pry bar
- A jigsaw (if cutting around obstacles)
- A level
- Underlayment material (optional but recommended)
- The Shaw WPC flooring planks
Installation Steps
Step 1: Preparation
Before starting your installation, ensure that the subfloor is clean, dry, and level. If necessary, use a self-leveling compound to even out any irregularities. An underlayment can be added for additional comfort and noise reduction. Unroll the underlayment and cut it to fit the room dimensions, ensuring there are no gaps between pieces.
Step 2: Measuring and Cutting
Measure the length and width of the room to determine how many planks you will need. Use a circular saw or handsaw to cut the planks to size, leaving a small gap around the perimeter for expansion. Always measure twice and cut once to avoid mistakes.
Step 3: Installing the First Row
Begin laying the first row of Shaw WPC flooring against the longest wall in the room. Ensure that the planks are tightly aligned and use a tapping block to gently tap them into place. Leave a small gap between the planks and the wall to allow for expansion.
Step 4: Installing Subsequent Rows
Continue laying the planks, staggering the joints between rows for a more natural look. Use a pry bar if needed to adjust the position of the planks. For areas around obstacles like doorways or columns, a jigsaw can be used to make precise cuts.
Step 5: Finishing Touches
Once all the planks are laid, install baseboards or quarter-rounds to cover the expansion gaps. This not only enhances the aesthetics but also protects the edges of the flooring from damage.
Maintenance Routines
To keep your Shaw WPC flooring looking its best, follow these maintenance tips:
- Regularly sweep or vacuum to remove dust and debris.
- Use a damp mop with a mild detergent for occasional cleaning. Avoid excessive water to prevent warping.
- Dry the floor thoroughly after cleaning to prevent moisture damage.
- Address spills immediately to prevent staining.
- Place felt pads under furniture legs to prevent scratches.
- Avoid using abrasive cleaners or scouring pads, which can damage the surface.
Reference Material
For further reading and detailed instructions, refer to the official Shaw Floors website.


Reviews
There are no reviews yet.