Installation Tips for WPC Trim in Outdoor Projects
Introduction
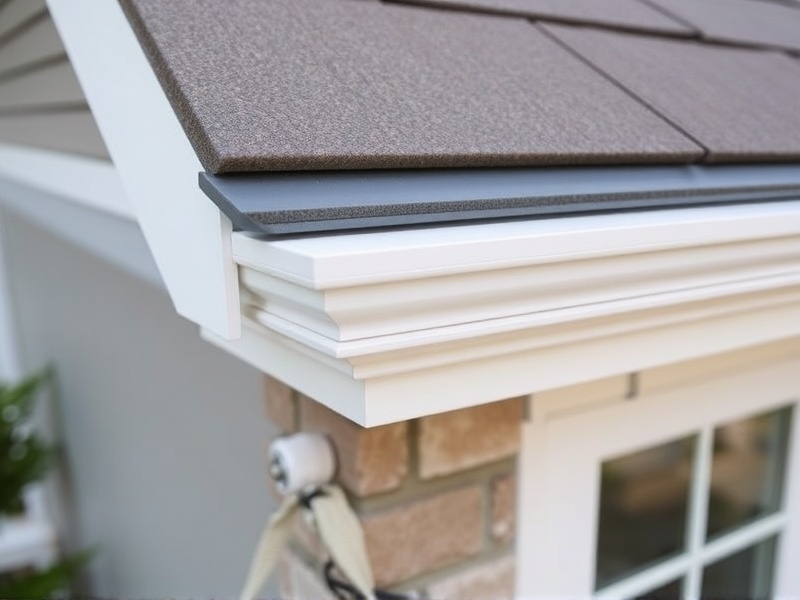
Wood Plastic Composite (WPC) trim has become increasingly popular for outdoor projects due to its durability, low maintenance, and aesthetic appeal. This article provides detailed installation instructions for WPC trim in outdoor settings. We will cover essential preparation steps, necessary tools, and best practices to ensure a seamless and long-lasting outcome.
Preparation for Installation
Before you start installing WPC trim, it is crucial to prepare the area where the trim will be placed. First, clean the surface thoroughly to remove any dirt or debris that could interfere with the adhesion of the trim. Ensure the surface is level and dry. If your project involves attaching the trim to wood, make sure the wood is free from rot and damage. Additionally, consider the weather conditions; WPC trim should not be installed during heavy rain or when the temperature is below freezing. For more insights on preparing surfaces, refer to this resource.
Tools Needed
To successfully install WPC trim, you will need a variety of tools. These include a circular saw or miter saw for cutting the trim to size, a drill for making pilot holes, screws and a screwdriver, a tape measure for accurate measurements, a level to ensure straight lines, and safety gear such as gloves and goggles. It’s also helpful to have a caulk gun and a sealant to prevent water infiltration. Always ensure that all tools are in good working condition before starting your project.
Best Practices for Installation
When installing WPC trim, follow these best practices to achieve a professional-looking finish. Start by marking the exact position of the trim using a chalk line or pencil. Cut the trim pieces to fit snugly, leaving a small gap between each piece to allow for expansion. Use corrosion-resistant screws and pre-drill holes to avoid splitting the material. Space the screws approximately every 16 inches along the length of the trim. After installation, apply a high-quality sealant around the edges to protect against moisture and enhance longevity. For further guidance on proper installation techniques, consult this guide.
Conclusion
Installing WPC trim can significantly enhance the look and functionality of your outdoor space. By following these detailed instructions and adhering to best practices, you can ensure a seamless and durable installation. Remember, proper preparation and tool selection are key to achieving a professional result. With care and attention to detail, your WPC trim project will not only be beautiful but also long-lasting.
Reference
Surface Preparation for WPC Installation
How to Install WPC Trim


Reviews
There are no reviews yet.