Installation Tips for Tecno WPC Products
Introduction
Tecno WPC (Wood Plastic Composite) products are gaining popularity in the construction industry due to their durability, low maintenance, and eco-friendly nature. These products include decking, fencing, and siding that can enhance the aesthetic appeal of any property while ensuring longevity. This article provides a comprehensive guide on installing Tecno WPC products, including essential tools, step-by-step instructions, and common pitfalls to avoid.
Tools Needed
To successfully install Tecno WPC products, you will need the following tools:
- A circular saw or miter saw for cutting the WPC boards to size.
- A drill with various bits for screwing and drilling pilot holes.
- A level to ensure that the installation is straight and even.
- A tape measure for accurate measurements.
- A rubber mallet to gently tap pieces into place without causing damage.
- Screws specifically designed for WPC materials, which are usually composite-specific and rust-resistant.
Step-by-Step Installation Instructions
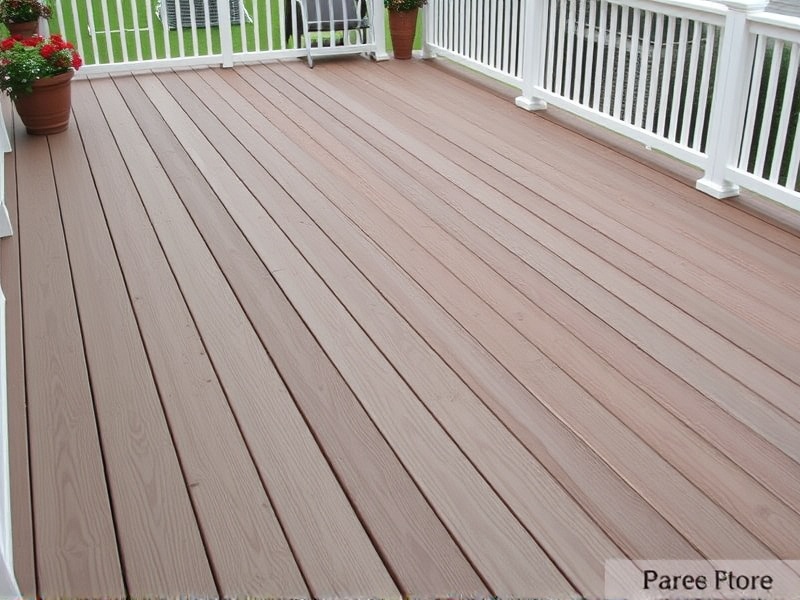
Decking Installation
Installing Tecno WPC decking involves several key steps:
- Prepare the Area: Clear the area where the decking will be installed. Ensure the ground is level and stable. If necessary, use gravel or concrete to create a solid base.
- Lay Out the Boards: Arrange the WPC boards on the prepared surface, leaving a small gap between each board for expansion. Use a level to check that the boards are aligned properly.
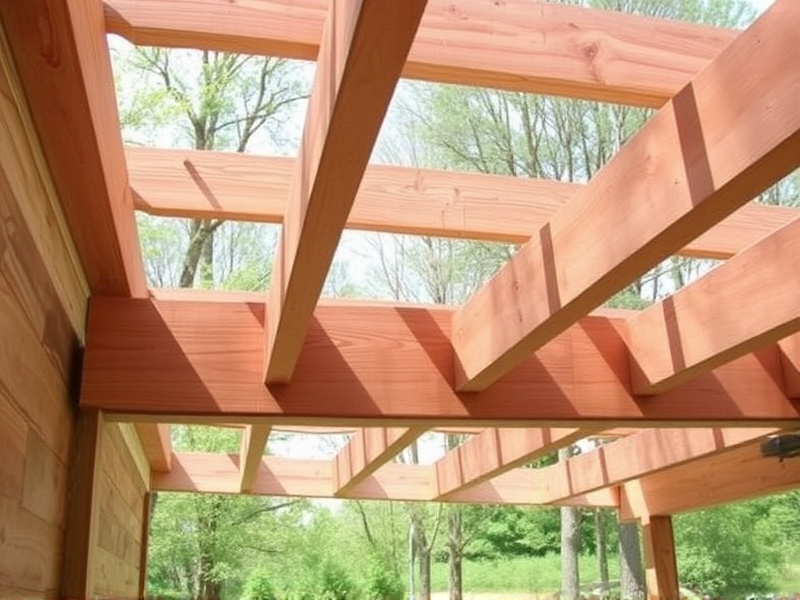
- Attach the Joists: Secure the joists to the substructure using composite-specific screws. Space the joists according to the manufacturer’s recommendations.
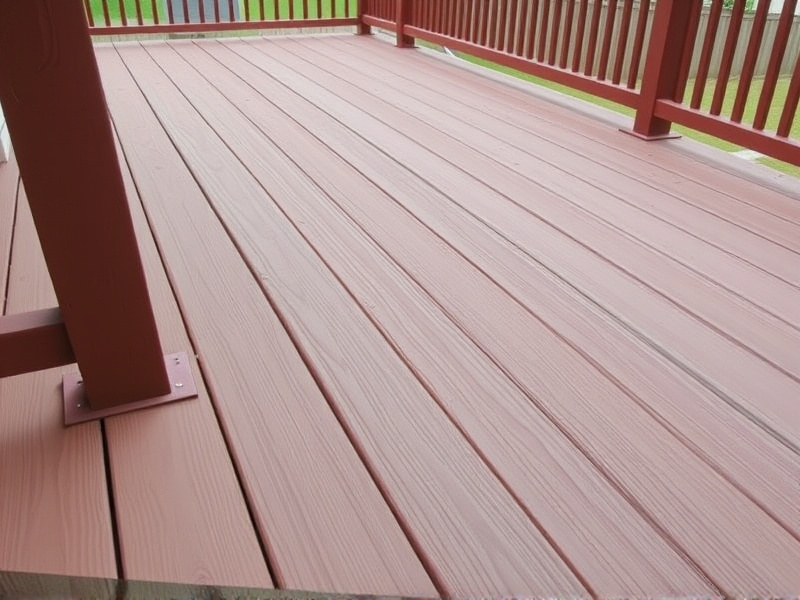
- Install the Decking: Begin installing the decking boards starting from one end, working your way across. Use a rubber mallet to gently tap the boards into place if needed. Drill pilot holes before driving screws to prevent splitting.
- Trim and Finish: Cut the edges and corners to fit neatly. Apply a sealant or finish to protect the material from weather elements.
Fencing Installation
The process for installing Tecno WPC fencing is similar but includes additional considerations:
- Set Posts: Dig post holes at least 2 feet deep and fill them with concrete. Allow the concrete to set before proceeding.
- Attach Rails: Install horizontal rails between the posts using composite-specific screws. Ensure they are level and secure.
- Mount the Panels: Attach the WPC panels to the rails, starting from one end. Use screws to secure the panels, ensuring they are straight and even.
- Finishing Touches: Trim any excess material and apply a protective coating as needed.
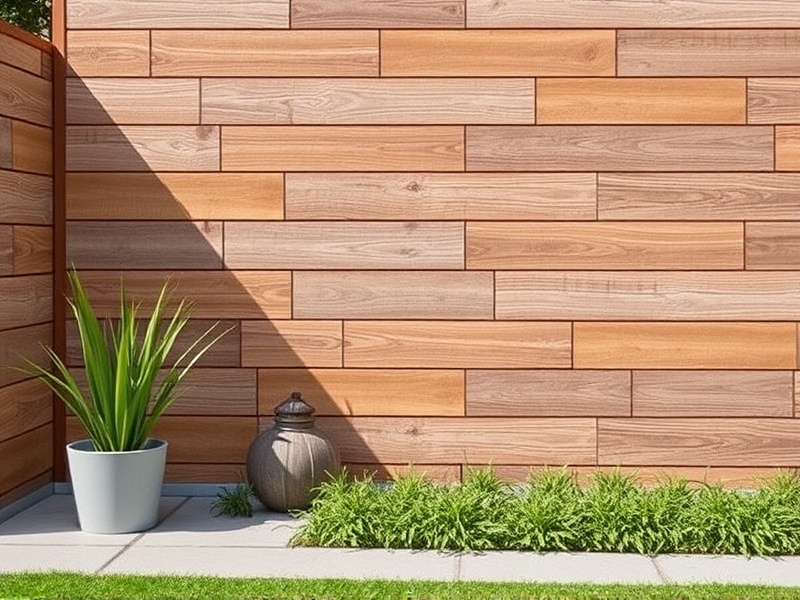
Siding Installation
For installing Tecno WPC siding, follow these steps:
- Measure and Plan: Measure the walls accurately and plan the layout to minimize waste. Start from the bottom and work your way up.
- Cut and Fit: Cut the WPC siding to size using a circular saw. Fit the first piece at the bottom, ensuring it is level.
- Secure the Siding: Attach the siding to the wall using composite-specific screws. Space the screws according to the manufacturer’s recommendations.
- Seal the Edges: Seal all edges and joints to prevent water infiltration. Apply a finishing coat to enhance the appearance and protection.
Common Pitfalls to Avoid
When installing Tecno WPC products, it’s crucial to avoid these common mistakes:
- Not Using Composite-Specific Tools: Regular tools can damage the material. Always use composite-specific tools to ensure a clean cut and secure fit.
- Omitting Pilot Holes: Drilling pilot holes prevents the material from splitting when screws are driven in.
- Ignoring Expansion Gaps: Leaving adequate space between boards allows for thermal expansion and contraction, preventing warping.
- Using Ordinary Screws: Composite-specific screws are designed to resist rust and provide better holding power.
Conclusion
Installing Tecno WPC products requires careful planning, the right tools, and attention to detail. By following the guidelines provided here, you can ensure a successful installation that enhances your property’s aesthetics while providing long-lasting durability. Remember to always refer to the manufacturer’s instructions for specific product recommendations and best practices.

Reviews
There are no reviews yet.