
Installation Tips for Rottendog WPC MPU Decking
Introduction
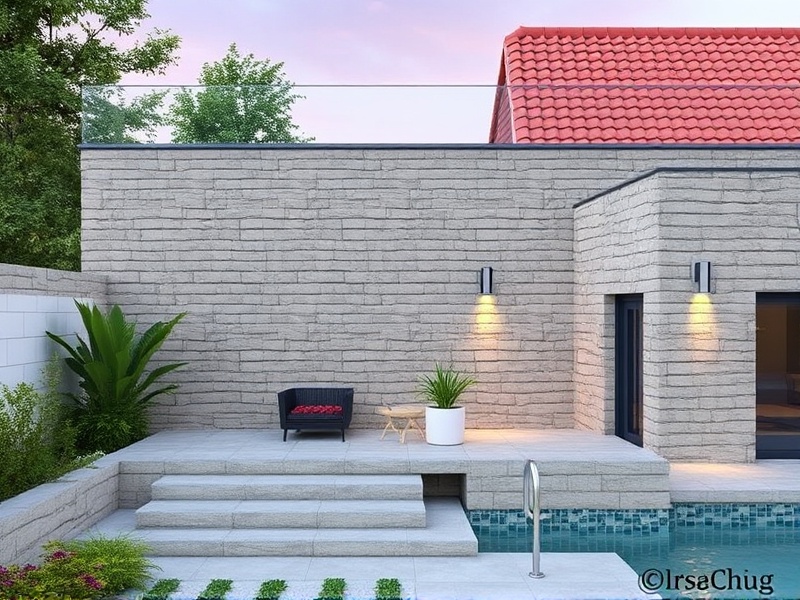
Rottendog WPC MPU (Wood Plastic Composite Multi-Purpose Decking) is a popular choice for outdoor flooring due to its durability, low maintenance, and aesthetic appeal. Proper installation is crucial to ensure the longevity and performance of your deck. This guide provides step-by-step instructions along with essential tips to help you install your Rottendog WPC MPU decking effectively.
Necessary Tools and Materials
To successfully install Rottendog WPC MPU decking, you will need the following tools and materials:
- Measuring tape: For accurate measurements of the deck area.
- Square: To ensure right angles during installation.
- Level: Essential for ensuring that the deck remains flat and even.
- Circular saw or handsaw: For cutting the decking boards to size.
- Drill: Useful for pre-drilling holes before screwing the boards in place.
- Screws and hidden fasteners: These are designed specifically for WPC materials to prevent splitting.
- Decking boards: Ensure they are sourced from reputable suppliers to guarantee quality.
- Underlayment material: Often recommended to improve drainage and reduce moisture issues.
Step-by-Step Installation Guide
Prepare the Site
The first step is to prepare the site where the deck will be installed. Clear the area of any debris or vegetation. Level the ground and compact it to create a stable base. It’s advisable to lay down landscape fabric to prevent weeds from growing up through the deck over time.
Lay Out the Frame
Construct the frame using pressure-treated lumber, ensuring it is level and square. Attach the ledger board securely to the house if the deck is attached. Install the posts and beams as per the design specifications. Use metal brackets and screws for added stability.
Install Joists and Underlayment
Space the joists evenly according to the manufacturer’s recommendations. Install underlayment material between the joists to enhance drainage. This step is particularly important for maintaining the integrity of the WPC boards by reducing moisture exposure.
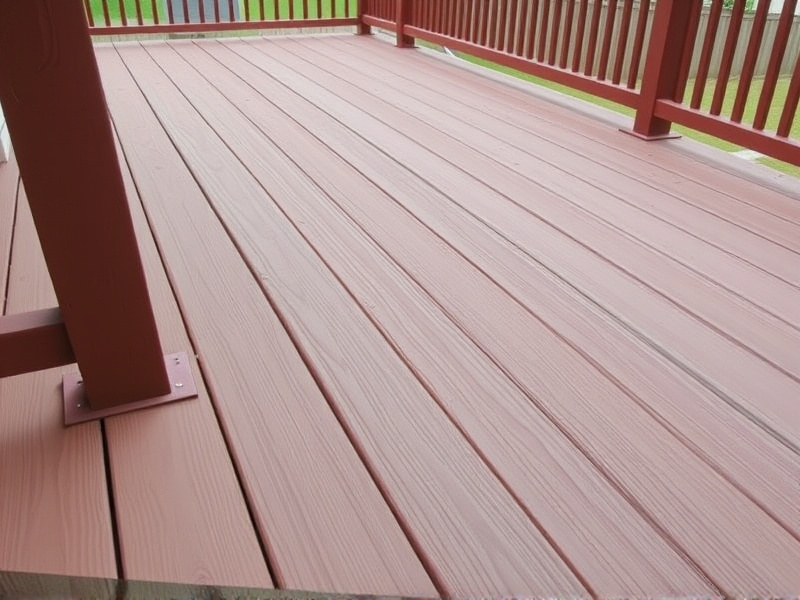
Start Laying the Decking Boards
Begin laying the decking boards starting from one end of the deck. Use hidden fasteners for a clean appearance. Leave a small gap between each board to allow for expansion and contraction. Cut the boards to fit around edges and obstacles, ensuring a snug fit.
Finishing Touches
Once all boards are laid, inspect the deck for any uneven areas or gaps. Tighten any loose fasteners and make adjustments as needed. Apply a sealant or stain if desired to protect the wood and enhance its appearance.
Best Practices
Following these best practices can help ensure a successful installation:
- Measure twice, cut once: Double-check measurements before making cuts to avoid mistakes.
- Use appropriate fasteners: Always use screws or hidden fasteners designed for WPC materials to prevent splitting.
- Allow for expansion: Leave gaps between boards to accommodate changes in temperature and humidity.
- Maintain proper spacing: Keep joist spacing consistent to ensure even weight distribution.
Reference Material
For more detailed information on installing Rottendog WPC MPU decking, refer to the official installation guide provided by the manufacturer. Additionally, consider consulting resources such as Family Handyman, which offers valuable insights into deck construction techniques.


Reviews
There are no reviews yet.