
Installation Tips for EVA Padding WPC Planks
Introduction
EVA (Ethylene-Vinyl Acetate) padding WPC (Wood Plastic Composite) planks are becoming increasingly popular in home improvement projects due to their durability, low maintenance, and comfortable underfoot feel. Installing these planks can be a straightforward process if you follow the correct steps and take necessary precautions. This article provides a detailed guide on how to install EVA padding WPC planks, covering essential tools, preparation steps, and common pitfalls to avoid.
Necessary Tools and Materials
To successfully install EVA padding WPC planks, you will need the following tools and materials:
- EVA padding WPC planks: Choose the appropriate size and color that fits your project’s requirements.
- Measuring tape: Essential for accurate measurements.
- Level: Ensures that the planks are installed evenly.
- Circular saw or handsaw: For cutting the planks to size.
- Hammer: Useful for tapping planks into place.
- Screwdriver: Needed for securing the planks if required by the specific installation method.
- Underlayment material: Often included with the planks, it helps in providing additional cushioning and moisture protection.
Preparation Steps
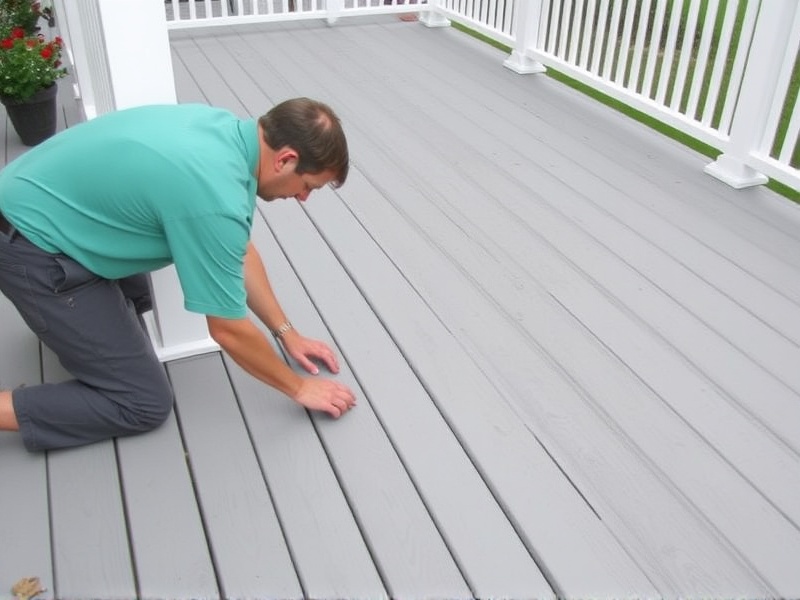
Before starting the installation, ensure that the subfloor is clean, dry, and level. Any unevenness or debris can affect the final appearance and stability of the installed planks. Here’s a step-by-step guide to prepare your space:
- Clean the area: Remove any existing flooring, dust, and debris from the subfloor.
- Check for moisture: Use a moisture meter to ensure the subfloor is dry. Moisture can cause warping and other issues with the planks.
- Lay down underlayment: If not already attached to the planks, lay down an underlayment material over the entire surface. This provides cushioning and helps prevent moisture from reaching the planks.
Installation Process
The installation process involves several key steps:
- Start at a straight wall: Begin laying the planks along a straight wall or edge. This ensures a neat and professional finish.
- Cut the first row: Measure and cut the first plank to fit snugly against the wall. Leave a small gap (about 1/4 inch) between the plank and the wall to allow for expansion.
- Install subsequent rows: Continue laying the planks, staggering the joints in each row for added strength and aesthetics. Use a tapping block and hammer to gently tap the planks together.
- Secure the planks: Depending on the manufacturer’s instructions, you may need to secure the planks using screws or clips. Ensure they are firmly in place but do not overtighten, which could damage the planks.
Common Pitfalls to Avoid
Several common mistakes can arise during the installation process:
- Ignoring the gap: Not leaving enough space between the planks and walls can lead to buckling when the planks expand due to temperature changes.
- Poor alignment: Failing to keep the planks aligned properly can result in a visibly uneven floor.
- Over-tightening screws: Applying too much pressure while securing the planks can cause them to crack or warp.
- Ignoring moisture: Ensuring the subfloor is completely dry before installation is crucial. Moisture can lead to swelling and warping of the planks.
Conclusion
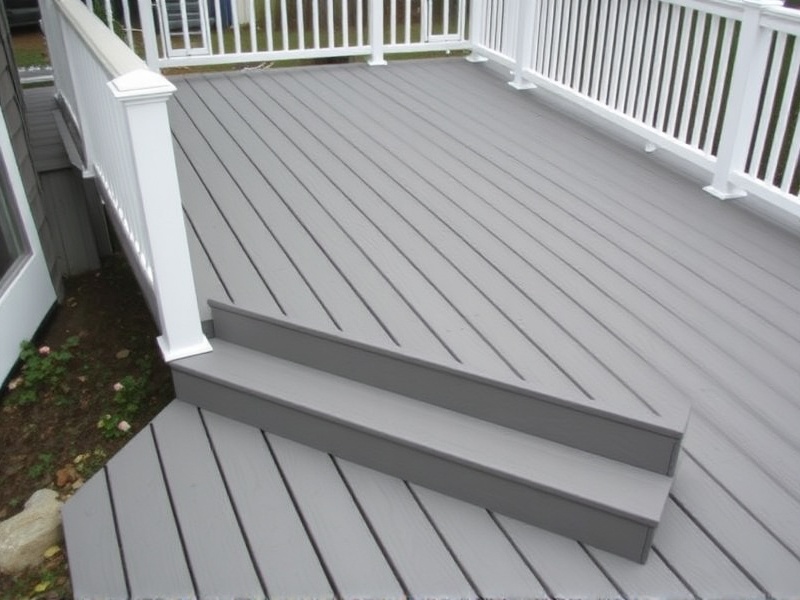
Installing EVA padding WPC planks can transform any room, offering both comfort and style. By following the outlined steps and taking care to avoid common pitfalls, you can achieve a professional-looking installation. Remember to always refer to the manufacturer’s guidelines for specific details related to your product.

Reviews
There are no reviews yet.