Installation Guide: Composite Roof Decking for DIY Enthusiasts
Introduction
Composite roof decking is an increasingly popular choice for homeowners looking to update their roofs with a durable, low-maintenance option. This guide aims to provide a detailed walkthrough on how to install composite roof decking yourself, from the initial preparation of the site to the final laying down of the composite panels. By following these steps and utilizing the provided checklist, you can ensure a secure and professional finish.
Preparation and Safety Gear
Before starting your project, it’s crucial to prepare your site and gather all necessary tools and safety gear. The following checklist should help:
- Tools: Measuring tape, level, circular saw, drill, hammer, screwdriver, utility knife, paintbrush, and ladder.
- Safety Gear: Safety glasses, hard hat, gloves, non-slip shoes, dust mask, and ear protection.
Ensure that your work area is clear of any debris or obstacles. If working at height, always use a sturdy ladder and wear a harness if required.
Installing Composite Roof Decking
Now that you have everything ready, let’s dive into the installation process:
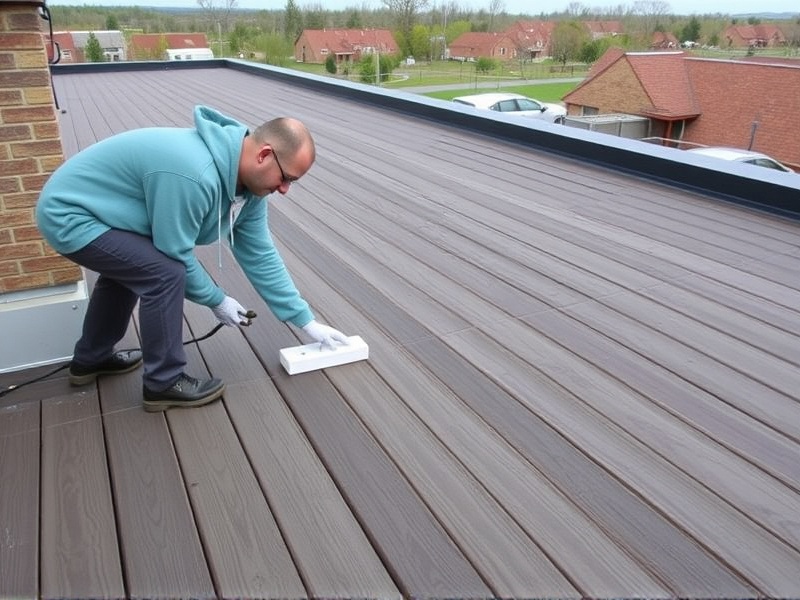
Step 1: Prepare the Substrate
The first step involves preparing the substrate where the composite roofing will be installed. Clean the surface thoroughly to remove any dirt, grime, or old materials. Ensure the substrate is flat and stable. If there are any damages, repair them before proceeding.
Step 2: Mark and Measure
Using your measuring tape and level, mark out the areas where the composite panels will be placed. It’s important to measure accurately to avoid any misalignment later on.
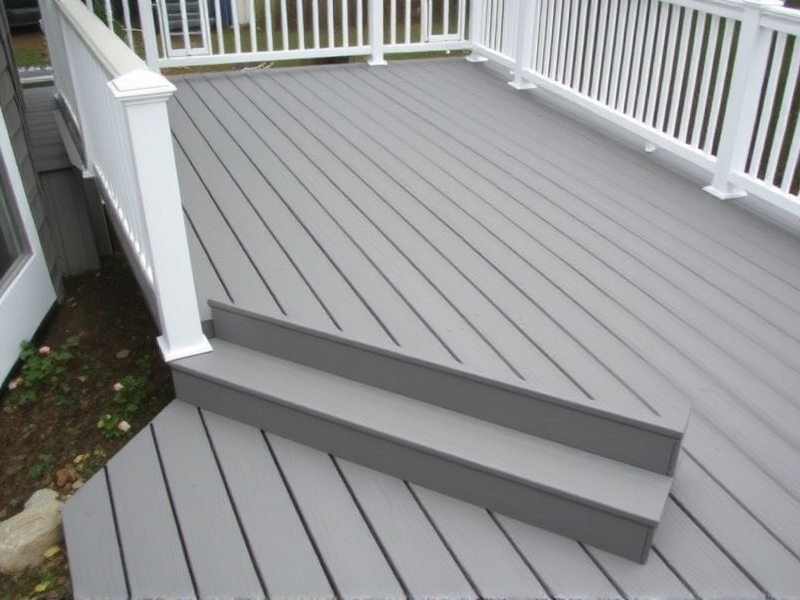
Step 3: Install the First Row
Start by installing the first row of composite panels along the edge of the roof. Secure them using appropriate screws or fasteners recommended by the manufacturer. Make sure each panel is aligned properly and securely attached.
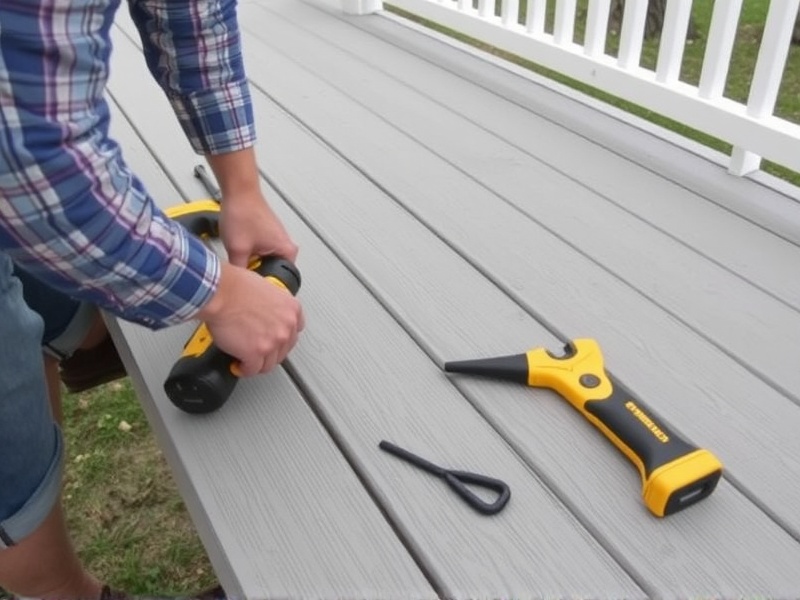
Step 4: Continue Installing Panels
Continue laying down the remaining panels, overlapping them slightly as specified in the product instructions. Use a utility knife to trim any excess material for a clean finish. Always ensure that each panel is securely fastened to prevent any future issues.
Tips for Ensuring a Secure and Professional Finish
- Double-check measurements and alignment before securing panels.
- Use proper fasteners recommended by the manufacturer to ensure durability.
- Consider applying a sealant around the edges to protect against moisture.
- Regularly check the stability of your ladder and work area for safety.
Reference Materials
For further reading and more detailed information, consider consulting the following resources:


Reviews
There are no reviews yet.