
Innovations in Lightweight Decking: A Guide for DIY Enthusiasts
Introduction
Building a deck can be an exciting project for any DIY enthusiast, offering a perfect space to relax or entertain guests outdoors. However, traditional decking materials can be heavy and challenging to work with, especially if you are working solo. This is where lightweight decking comes into play, providing a range of benefits that make it an attractive option for DIY projects. In this guide, we will walk you through the process of installing lightweight decking, from choosing the right materials to securing them properly.
Choosing the Right Lightweight Decking Materials
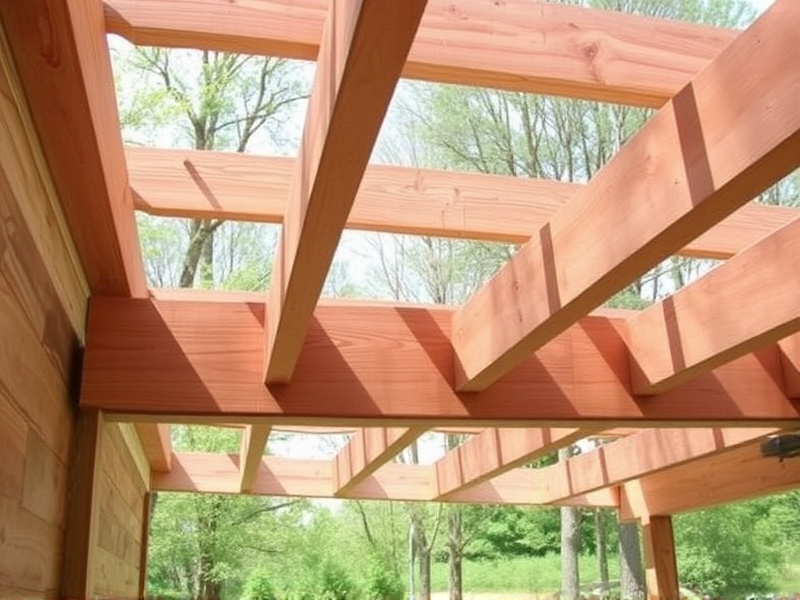
The first step in any DIY project is selecting the appropriate materials. Lightweight decking options like composite materials, engineered wood, or recycled plastic offer significant advantages over traditional timber. These materials are not only lighter but also more durable and require less maintenance. When choosing your materials, consider factors such as durability, cost, aesthetics, and environmental impact. Composite decking, for example, is made from a combination of wood fibers and recycled plastics, making it a sustainable choice that requires minimal upkeep. For detailed information on different types of lightweight decking materials, refer to Home Depot’s guide.
Measuring and Cutting
Accurate measurements are crucial when building a deck. Before starting, measure the area where you plan to build your deck and add a few inches to allow for the framing and railings. Use a tape measure and mark the dimensions clearly on your chosen surface. For cutting, invest in a good quality circular saw or a miter saw. These tools ensure clean cuts and minimize waste. If you are new to woodworking, consider practicing on scrap pieces before cutting your actual materials. Additionally, always wear safety gear such as goggles and gloves while using power tools.
Securing the Materials
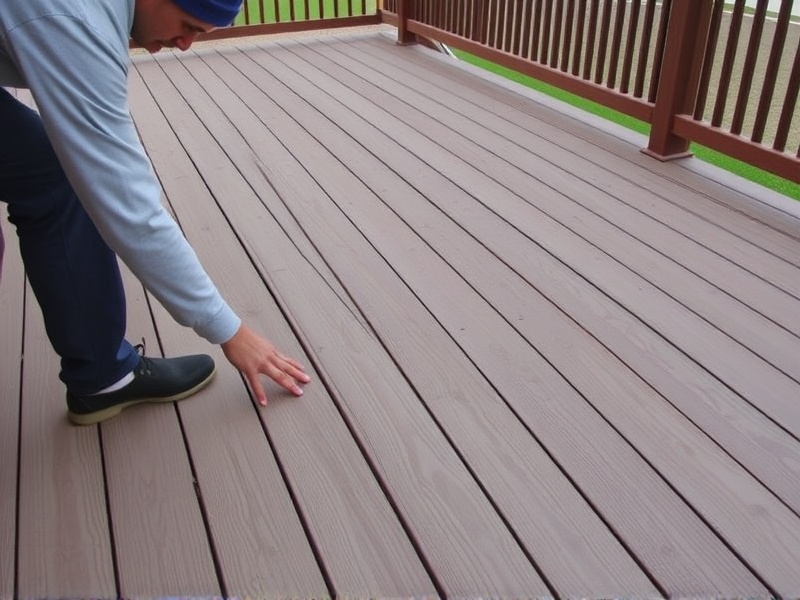
Once your materials are cut to size, it’s time to start assembling your deck. Begin by laying out the frame and securing it with screws or nails. Ensure that the frame is level and square. Next, attach the decking boards, starting from the outer edge and working your way in. Leave a small gap between each board to allow for expansion and contraction due to temperature changes. Fasten the boards using screws designed specifically for decking to avoid splitting the wood. Tightening them too much can cause warping, so it’s important to follow the manufacturer’s instructions closely.
Tips for Success
To ensure your project goes smoothly, here are some additional tips:
- Always check the weather forecast and plan your installation during dry conditions.
- Use a level frequently to maintain evenness across the deck.
- Consider adding a moisture barrier underneath the deck to protect against water damage.
Conclusion
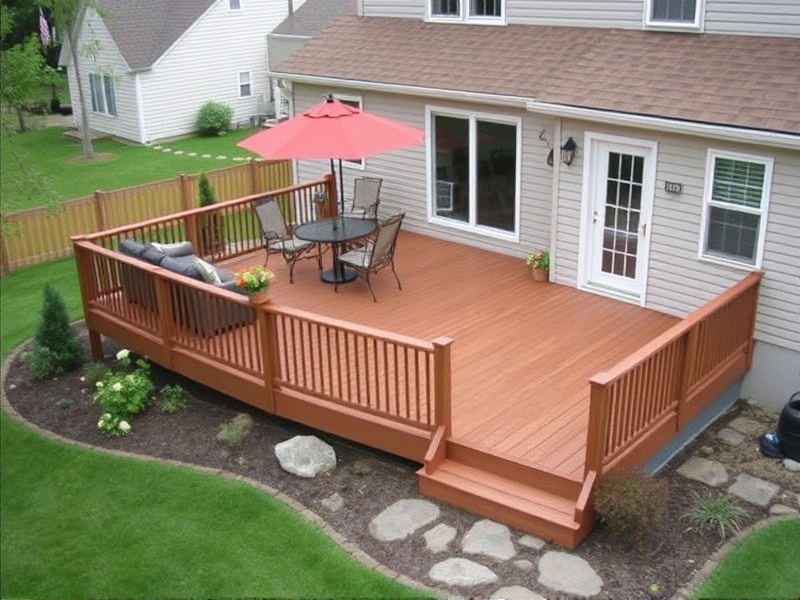
Installing lightweight decking can be a rewarding DIY project that enhances both the functionality and aesthetic appeal of your outdoor space. By following these steps and tips, you can create a beautiful and durable deck that will last for years. Remember, patience and attention to detail are key to achieving professional results. With the right materials and tools, you can transform your backyard into a comfortable oasis that everyone will enjoy.

Reviews
There are no reviews yet.