DIY Installation Tips for Oak Composite Fencing
Introduction
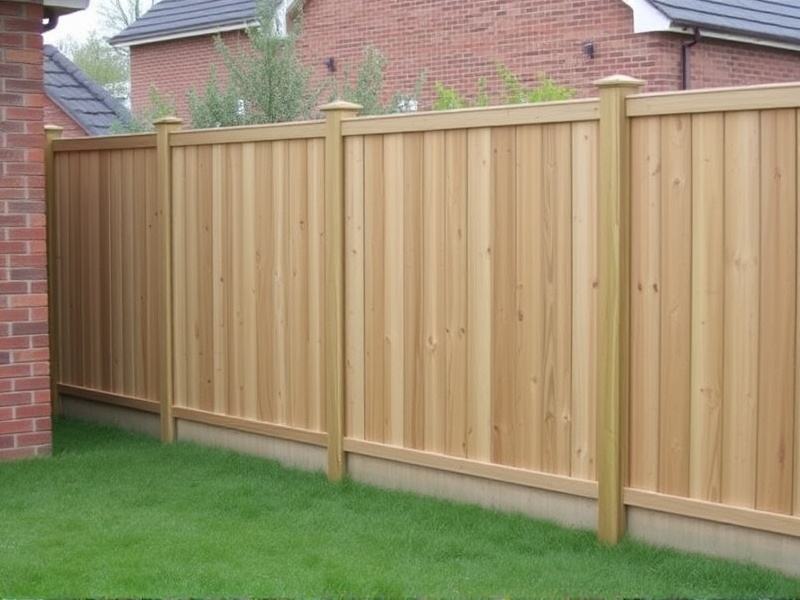
Oak composite fencing is a popular choice among homeowners due to its durability, low maintenance requirements, and aesthetic appeal. It combines the natural beauty of wood with the strength and longevity of composite materials. Installing an oak composite fence yourself can save you money and give you a sense of accomplishment. This article provides detailed instructions on how to install an oak composite fence yourself, covering topics such as preparing the site, setting posts, and attaching panels.
Preparing the Site
Before starting the installation, it’s crucial to prepare the site properly. Begin by marking the area where the fence will be installed using stakes and string. Ensure that the line is straight and that the stakes are placed at the correct intervals according to your fence design. Check local building codes and regulations to ensure compliance. You may need to obtain permits before proceeding with the installation.
Next, clear the area of any debris, vegetation, or obstructions. Use a shovel or a trenching tool to dig holes for the fence posts. The depth and width of these holes will depend on the size and weight of your fence panels. Typically, post holes should be about one-third of the total height of the fence below ground level. For example, if your fence is 6 feet tall, the hole should be approximately 2 feet deep.
Setting Posts
Once the holes are dug, set the posts in place. Start by placing the posts into the holes and plumb them using a level. To keep the posts stable, use concrete mix to secure them in place. Mix the concrete according to the manufacturer’s instructions and pour it into the holes around the posts. Allow the concrete to cure for at least 24 hours before continuing with the installation.
It’s also important to consider the spacing between the posts. Typically, posts should be spaced 6 to 8 feet apart for optimal stability. However, this can vary depending on the design and style of your fence. Make sure to consult the manufacturer’s guidelines for specific recommendations.
Attaching Panels
After the posts have cured, it’s time to attach the fence panels. Most oak composite fences come with pre-assembled panels that can be easily attached to the posts using screws or bolts. Position the first panel against the posts and align it so that it sits squarely on top of the concrete. Secure the panel to the posts using the appropriate fasteners, following the manufacturer’s instructions.
Continue attaching the remaining panels in the same manner, making sure each panel is level and aligned properly. Use a level to check the alignment of each panel and adjust as necessary. Once all the panels are securely attached, inspect the entire fence for any gaps or misalignments and make final adjustments if needed.
Finishing Touches
Finally, add any finishing touches to complete the look of your fence. This might include installing caps on top of the posts for added protection and aesthetics. You may also want to apply a sealant or stain to protect the fence from weather damage and enhance its appearance. Follow the manufacturer’s instructions for applying the sealant or stain to ensure best results.
Conclusion
Installing an oak composite fence can be a rewarding DIY project that enhances both the security and appearance of your property. By following these steps and taking the time to prepare the site, set the posts, and attach the panels correctly, you can create a sturdy and attractive fence that will last for years. Remember to always refer to the manufacturer’s guidelines and local building codes for specific instructions and regulations.
Reference
How to Install a Fence, Family Handyman

Reviews
There are no reviews yet.