DIY Installation: How to Install Click WPC Vinyl Floors Using Quotes
Introduction
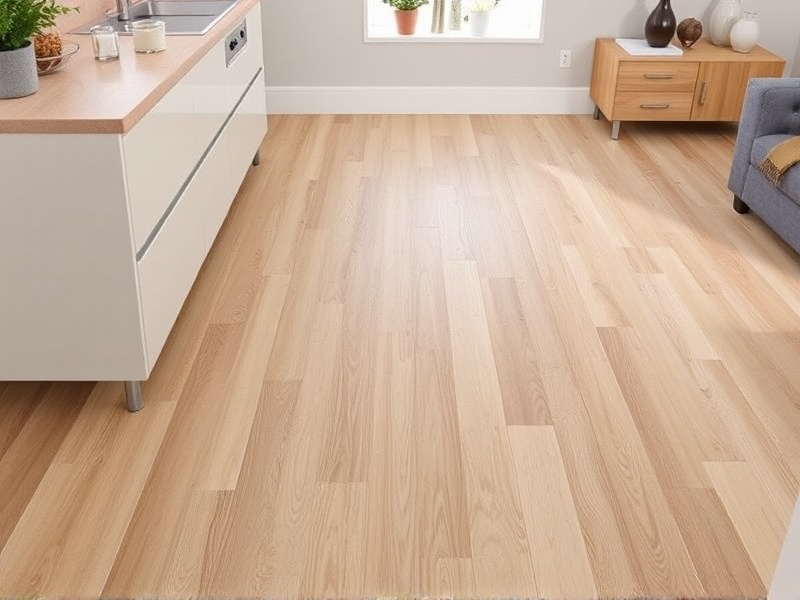
Installing click WPC (Wood Plastic Composite) vinyl floors is a great way to transform any room in your home or office. This type of flooring is known for its durability, ease of installation, and stylish appearance. In this article, we’ll guide you through the process of laying down these floors using specific quotes for measurements and layout. We’ll cover everything from preparing the subfloor to locking the planks into place, ensuring that your project goes smoothly and efficiently.
Preparing the Subfloor
Before you start laying down your click WPC vinyl floors, it’s crucial to ensure that the subfloor is clean, flat, and dry. According to the experts at Flooring Stores, “the subfloor must be level within 3/16 inch over a six-foot span.” To achieve this, use a long straightedge or laser level to check the surface. If necessary, fill in low spots with self-leveling compound and sand down high spots until the surface is smooth and even. This step is essential as it ensures that your flooring will lay flat and look professional.
Cutting Planks for Perfect Fit
Once your subfloor is ready, it’s time to start cutting your click WPC vinyl planks. For this project, you’ll need a sharp utility knife and a straight edge or a plank cutter. Measure each wall where the planks will be installed, adding an extra 1/4 inch to allow for expansion. For example, if the wall measures 10 feet, you would cut the planks to 10 feet and 3 inches. As noted by The Home Depot, “this additional space is crucial to prevent buckling due to temperature changes and humidity fluctuations.”
Locking Planks into Place
The final step is to install the planks themselves. Start by laying out the first row along a straight line parallel to the longest wall in the room. Use spacers to maintain consistent spacing between the walls and adjacent planks. When connecting the planks, align the tongue of one plank with the groove of another and press firmly until they lock together. It’s important to work methodically, starting from one corner and working your way across the room. Remember to stagger the joints of each row to create a more natural look. As suggested by Bob Vila, “staggering the joints helps distribute weight evenly and minimizes visible seams.”
Tips for Success
To ensure a successful installation, keep these additional tips in mind:
- Always leave a small gap around the perimeter of the room for expansion.
- Use a tapping block when joining planks to avoid damaging the edges.
- Check the manufacturer’s guidelines for specific instructions and recommendations.
Conclusion
Installing click WPC vinyl floors can be a rewarding DIY project that enhances the look and feel of any space. By following the steps outlined above and using precise measurements and layouts, you can achieve a professional-looking result. Remember to take your time, measure carefully, and follow the manufacturer’s guidelines to ensure a flawless installation.
Reference
How to Install Click Vinyl Plank Flooring


Reviews
There are no reviews yet.