
DIY Guide: Installing WPC Wall Panels in Chennai
Introduction
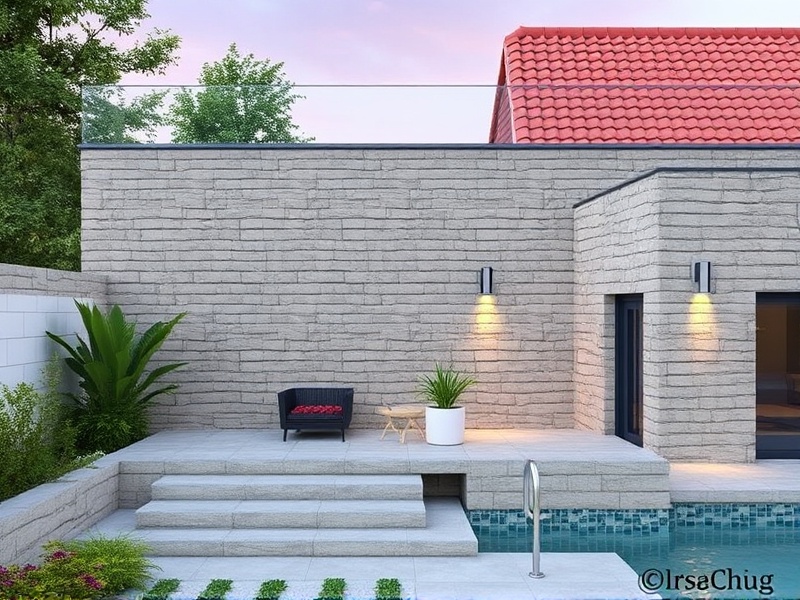
Welcome to this comprehensive DIY guide on how to install WPC (Wood Plastic Composite) wall panels in Chennai. WPC wall panels are an excellent choice for interior design due to their durability, low maintenance, and aesthetic appeal. This guide will walk you through the process of installing these panels yourself, ensuring a professional finish that can enhance the look of your home or office.
Necessary Tools and Materials
To get started with the installation of WPC wall panels in Chennai, you’ll need a few essential tools and materials. These include:
- WPC Wall Panels: Choose from a variety of designs and colors available in Chennai’s local stores or online platforms like Amazon India.
- Measuring Tape: For accurate measurements, which is crucial for a neat finish.
- Circular Saw: To cut the panels to size, especially if you’re working with irregular walls.
- Drill: For making holes to attach the panels securely.
- Screws and Wall Anchors: Use stainless steel screws and wall anchors to ensure the panels are firmly attached, even in humid conditions.
- Level: Ensuring that each panel is perfectly aligned.
- Adhesive: An optional step but recommended for added stability, especially on uneven surfaces.
Installation Steps
Follow these detailed steps to install WPC wall panels in Chennai:
- Measure and Plan: Measure the dimensions of your walls and plan the layout of the panels. Consider starting at a corner and working your way across the room.
- Cut the Panels: Using a circular saw, cut the panels to fit your wall dimensions. Ensure to measure twice and cut once to avoid mistakes.
- Mark Wall Positions: Mark the positions where the panels will be installed using a level and pencil. This helps in maintaining a straight line and even spacing.
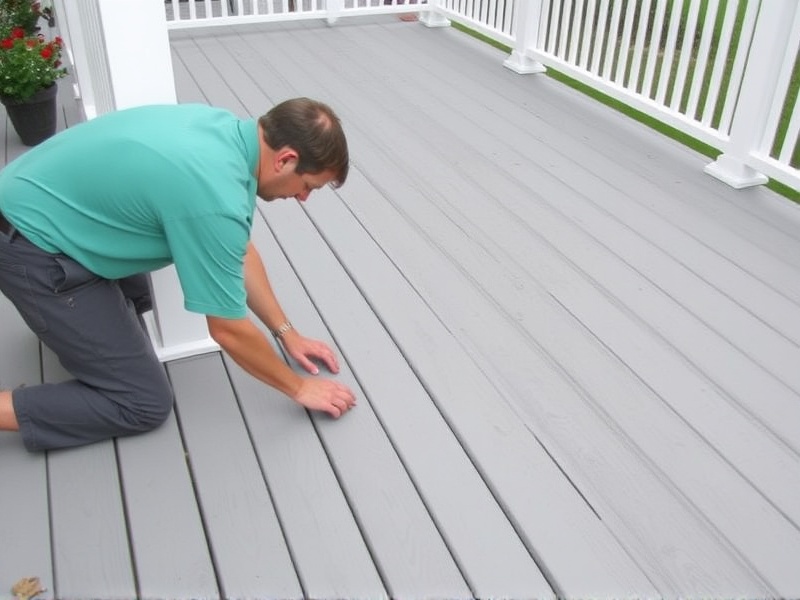
- Install Panels: Start attaching the panels from the bottom up. Use screws and wall anchors to secure the panels. Make sure they are tightly fitted to prevent gaps.
- Finishing Touches: Apply any adhesive along the edges if needed for additional stability. Trim any excess material and clean up the area.
Tips for Achieving a Professional Look
To achieve a professional look when installing WPC wall panels in Chennai, consider the following tips:
- Choose Quality Panels: Invest in high-quality WPC panels that are resistant to moisture and humidity, common challenges in Chennai’s climate.
- Proper Alignment: Pay close attention to alignment and spacing. Use a level to ensure each panel is straight and evenly spaced.
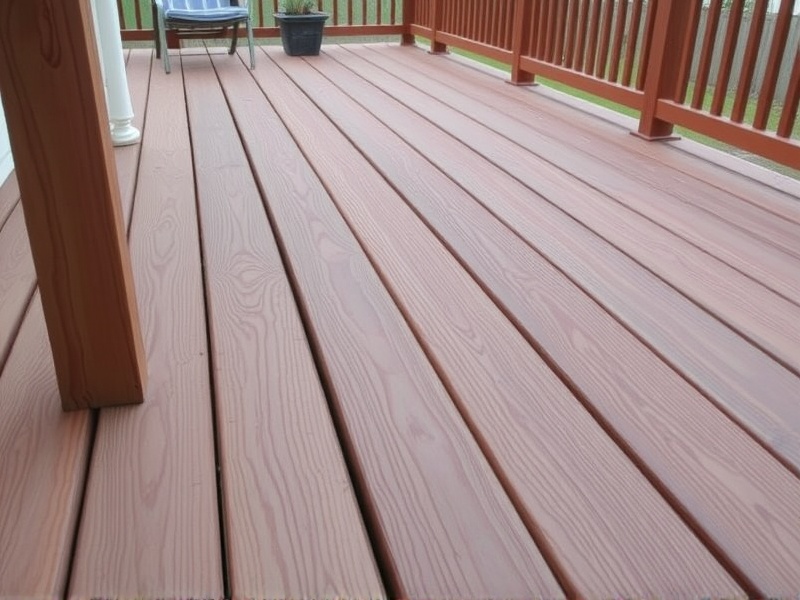
- Color Coordination: Select colors that complement your existing decor. WPC panels come in a variety of finishes, from wood-like textures to sleek modern looks.
- Maintenance: Regular cleaning with a damp cloth can help maintain the appearance of your WPC panels. Avoid harsh chemicals that could damage the surface.

Reviews
There are no reviews yet.