Click WPC Vinyl Floor: A Comprehensive Guide to Installation and Maintenance
Introduction to Click WPC Vinyl Floors
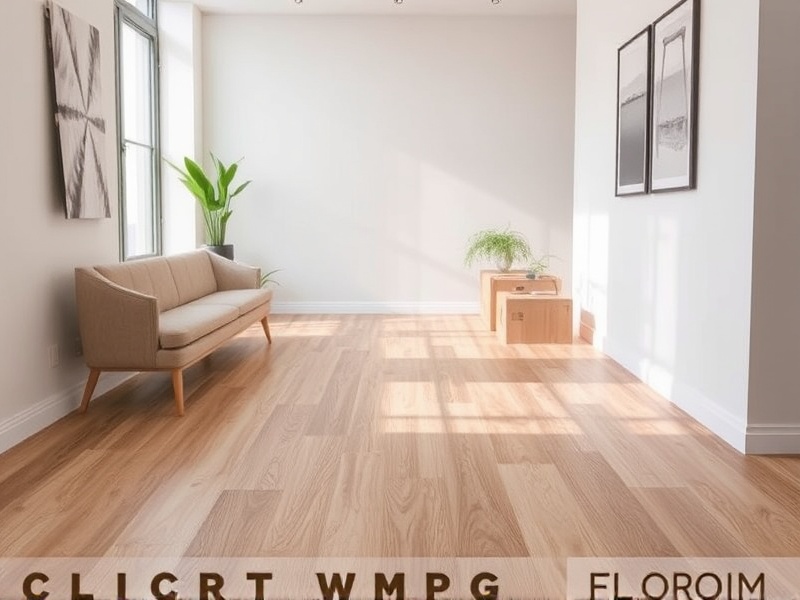
Click WPC (Wood Plastic Composite) vinyl floors have become increasingly popular due to their durability, ease of installation, and aesthetic appeal. These floors combine the benefits of wood and plastic, offering a balance between natural look and synthetic strength. They are perfect for both residential and commercial spaces, providing a low-maintenance flooring option with a wide range of design possibilities.
Preparation and Tools Needed
Before diving into the installation process, it is crucial to prepare your space adequately. Begin by ensuring the subfloor is clean, dry, and level. Any unevenness can lead to a bumpy final product. You will need several tools to install a click WPC vinyl floor, including a measuring tape, utility knife, adhesive, underlayment, a tapping block, and a pry bar. It is also beneficial to have a level, a jigsaw, and a miter saw at hand for precise cuts and adjustments.
Step-by-Step Installation Process
The installation of a click WPC vinyl floor is straightforward and can be completed in several steps:
- Measure the Space: Accurately measure the dimensions of your room to determine how much material you need.
- Cut the First Row: Start from one end of the room and cut the first row to fit the space. Leave a small gap around the edges for expansion.
- Install the First Row: Lay down the first row, ensuring it is aligned correctly with the walls. Use the tapping block to gently tap the planks into place.
- Continue Installing Rows: Continue laying rows until you reach the last row. For the final row, you may need to cut the planks to fit.
- Trim Around Obstacles: Use a jigsaw or miter saw to trim around obstacles like door frames and baseboards.
- Final Touches: Install transition strips where necessary and ensure all pieces are securely in place.
Tips for Achieving a Seamless Installation
To achieve a seamless installation, pay close attention to the alignment of each plank and ensure they are tightly connected. Regularly use a level to check for any misalignments. Additionally, leave a small gap around the perimeter to allow for thermal expansion. This gap can later be covered with baseboards or quarter-rounds.
Common Mistakes to Avoid
Several common mistakes can affect the quality of your installation. One of the most frequent errors is not allowing enough space for expansion, leading to buckling or warping. Another mistake is cutting planks too short, which can result in gaps or uneven surfaces. Always measure twice and cut once to prevent such issues.
Maintaining Your Click WPC Vinyl Floor
Maintaining a click WPC vinyl floor is relatively simple. Regular sweeping or vacuuming helps keep the surface clean, while occasional damp mopping with a mild cleaner can remove stubborn stains. Avoid using abrasive cleaners or excessive water, as these can damage the surface. For best results, follow the manufacturer’s cleaning guidelines.
Conclusion
Installing a click WPC vinyl floor can transform any space with minimal effort. By following the outlined steps and taking precautions to avoid common pitfalls, you can create a beautiful and durable flooring solution. Remember, proper preparation and regular maintenance are key to keeping your floor looking its best for years to come.

Reviews
There are no reviews yet.