wpc power driver board led 3
Introduction to WPC Power Driver Board LED 3
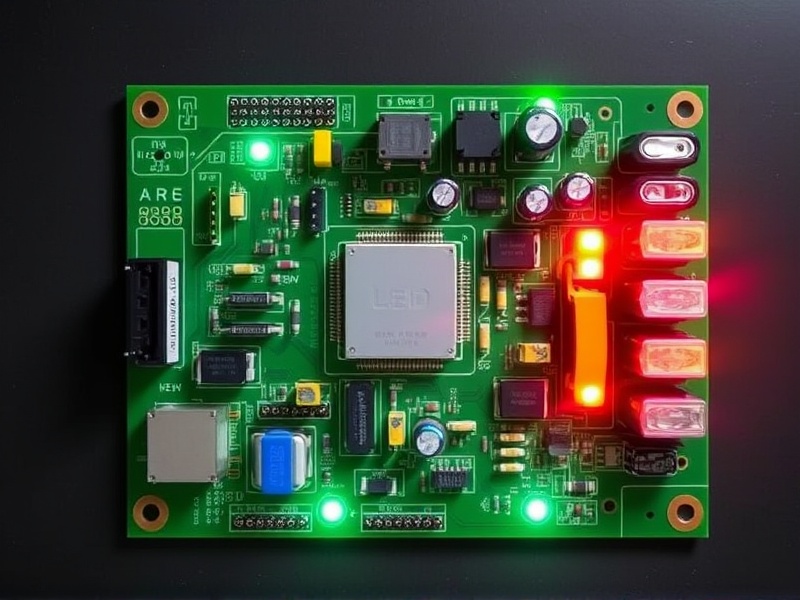
The WPC Power Driver Board LED 3 is a specialized electronic component designed to enhance the efficiency and reliability of LED lighting systems in various applications. This advanced board integrates robust components and sophisticated circuitry, making it an essential tool for modern electronics enthusiasts and professionals alike. In this article, we will delve into the technical specifications, practical uses, and benefits of using the WPC Power Driver Board LED 3. Additionally, we will provide step-by-step instructions on how to install and configure this board.
Technical Specifications of WPC Power Driver Board LED 3
The WPC Power Driver Board LED 3 is equipped with state-of-the-art features that make it stand out among similar products. It supports input voltages ranging from 9V to 36V DC, which makes it compatible with a wide range of power sources. The board can handle up to 3A of current, ensuring that it can drive even high-power LEDs efficiently. Furthermore, the board incorporates advanced thermal management techniques, such as heat sinks and efficient PCB design, to prevent overheating and ensure longevity.
Practical Uses and Benefits
The WPC Power Driver Board LED 3 finds application in numerous fields, including home automation, automotive lighting, and industrial control systems. Its primary benefit lies in its ability to regulate voltage and current, thereby protecting LEDs from damage due to overvoltage or overcurrent conditions. This regulation ensures consistent brightness and color output from LEDs, regardless of fluctuations in the power supply. Additionally, the board’s compact size and ease of integration make it ideal for space-constrained projects.
Installation and Configuration Steps
To install the WPC Power Driver Board LED 3, follow these simple steps:
- Ensure that the power source is disconnected before beginning any wiring work.
- Connect the positive terminal of your power supply to the VIN+ pin on the board.
- Connect the negative terminal of your power supply to the VIN- pin on the board.
- Attach the anode (positive) side of your LED to the VOUT+ pin on the board.
- Connect the cathode (negative) side of your LED to the VOUT- pin on the board.
- Once all connections are secure, reconnect the power supply and test the functionality of your LED.
Reference Literature
For further reading on WPC Power Driver Boards and their applications, consider consulting the following resources:
WPC Power Driver Board Guide – A comprehensive guide to understanding and utilizing WPC Power Driver Boards effectively.


Reviews
There are no reviews yet.