WPC Fugenband: A Comprehensive Guide to Installation Tips
Introduction
WPC Fugenband, or Wood Plastic Composite Trim, is a versatile material that has gained popularity in recent years due to its durability and low-maintenance properties. It is commonly used as trim for walls, floors, and ceilings, offering a sleek and modern look while also providing protection against moisture and wear. Installing WPC Fugenband correctly can be challenging, but with the right approach and knowledge, it can result in a flawless finish. This guide aims to provide you with step-by-step instructions on how to install WPC Fugenband, highlighting common mistakes to avoid, necessary tools, and tips for achieving a perfect fit.
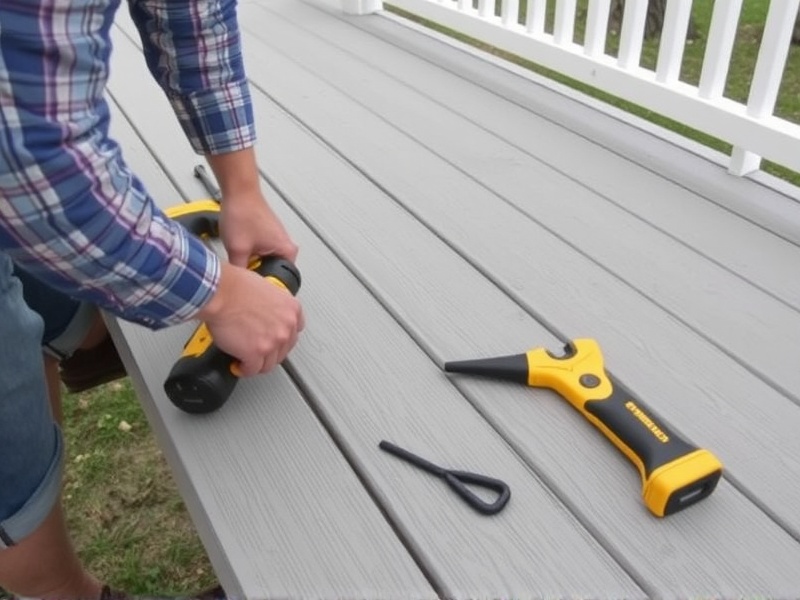
Tools Required
To successfully install WPC Fugenband, you will need the following tools:
- A circular saw or miter saw for cutting the trim to size
- A drill for making pilot holes and attaching the trim
- Screws or nails specifically designed for WPC materials
- A level to ensure the trim is installed straight
- A caulking gun for applying adhesive if needed
- A utility knife for trimming excess material
Step-by-Step Installation Instructions
Measure and Cut
Before beginning installation, measure the area where the WPC Fugenband will be installed. Ensure that you account for any obstacles or irregularities in the wall. Use a circular saw or miter saw to cut the trim to the appropriate length, ensuring that you make precise cuts. Cutting at a 45-degree angle at each end will create a seamless joint when two pieces of trim meet at a corner.
Mark and Drill Pilot Holes
Using a pencil, mark the spots where you will attach the trim to the wall. These marks should be evenly spaced, typically every 16 inches. Using a drill, create pilot holes at these marks to prevent the WPC Fugenband from splitting when you attach it.
Attach the Trim
Insert screws or nails into the pilot holes, making sure they are flush with the surface of the trim. Use a level to ensure that the trim is installed straight. If you notice any gaps between the trim and the wall, apply a small amount of adhesive to fill them. Allow the adhesive to dry according to the manufacturer’s instructions.
Finishing Touches
Once the trim is securely attached, use a utility knife to trim any excess material. Apply caulk along the joints where the trim meets the wall or floor to create a clean, finished appearance. Choose a color of caulk that matches the trim for the best results.
Tips for Achieving a Perfect Fit and Finish
Here are some additional tips to help you achieve a perfect fit and finish when installing WPC Fugenband:
- Always use screws or nails specifically designed for WPC materials to prevent cracking.
- Pre-drill holes before attaching the trim to avoid splitting.
- Use a level to ensure the trim is installed straight and even.
- Apply a small amount of adhesive to fill gaps between the trim and the wall for a more polished look.
- Trim any excess material with a utility knife for a clean edge.
Common Mistakes to Avoid
When installing WPC Fugenband, there are several common mistakes to avoid:
- Not measuring accurately before cutting the trim can lead to misfits and wasted material.
- Forgetting to pre-drill holes can cause the material to split during installation.
- Using regular screws or nails instead of those specifically designed for WPC can damage the material.
- Ignoring the importance of using a level can result in uneven or crooked trim.
Conclusion
Installing WPC Fugenband requires precision, attention to detail, and the right tools. By following the steps outlined above and avoiding common mistakes, you can achieve a professional-looking finish that enhances the aesthetics of your space. Remember to take your time, measure twice, and always use the correct tools and materials for the job.


Reviews
There are no reviews yet.