wpc decking installation guide
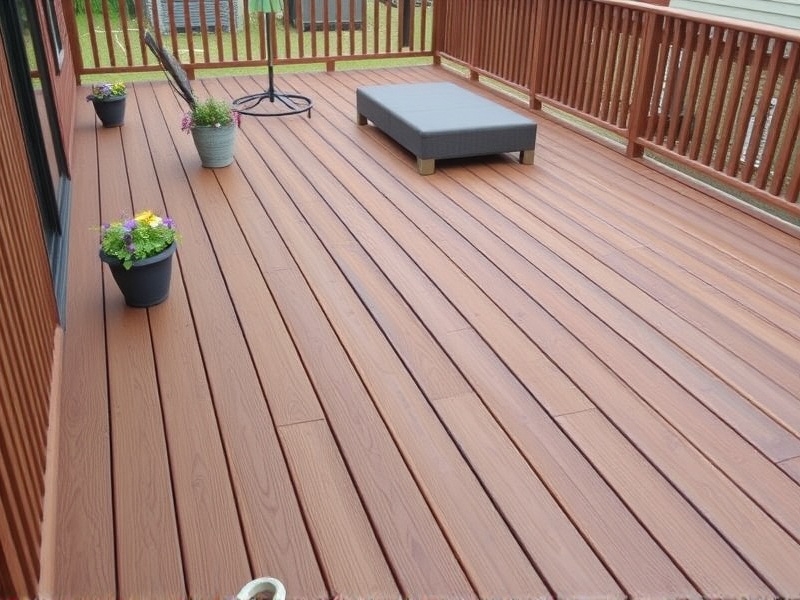
WPC (Wood Plastic Composite) decking is a popular choice for outdoor living spaces due to its durability, low maintenance, and aesthetic appeal. This guide will walk you through each step of installing WPC decking, from preparing the site to adding finishing touches.
Preparing the Site
Before starting the installation process, it’s crucial to prepare the site properly. Begin by clearing the area where you plan to install the decking. Ensure that the ground is level and stable; if necessary, excavate or fill in uneven areas to create a flat surface. It’s also important to check for any underground utilities before digging. You can use a metal detector or consult local utility companies to ensure safety during excavation. Once the ground is prepared, lay down landscape fabric to prevent weeds from growing underneath your deck.
Laying the Substructure
The next step is to construct the substructure, which provides support for the decking boards. Start by setting up the ledger board, which attaches the deck to the house. Use appropriate lag bolts to secure the ledger board firmly to the house’s frame. Then, install the joists perpendicular to the ledger board, spaced according to manufacturer recommendations. Typically, joists are spaced 16 inches on center. Make sure to use galvanized or stainless steel hardware to prevent corrosion. For added stability, consider using joist hangers at the ends of the ledger board and between the joists.
Attaching the Decking Boards
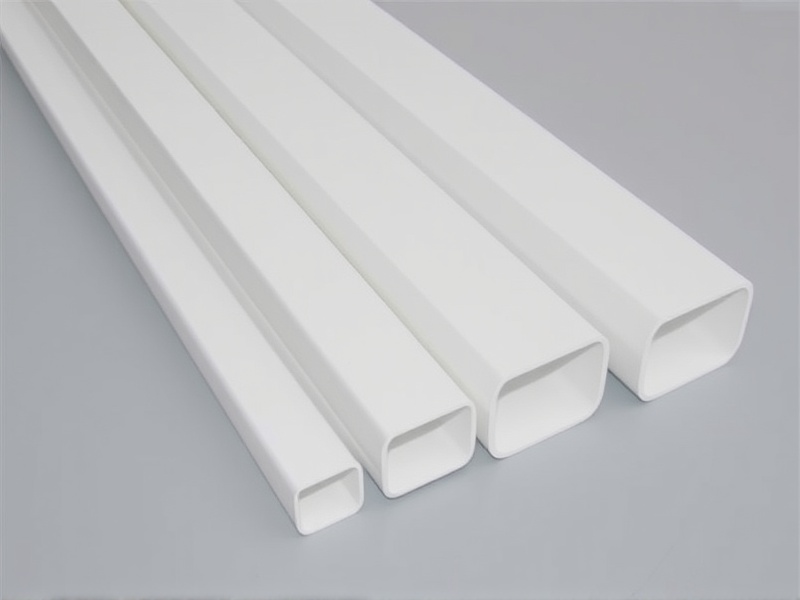
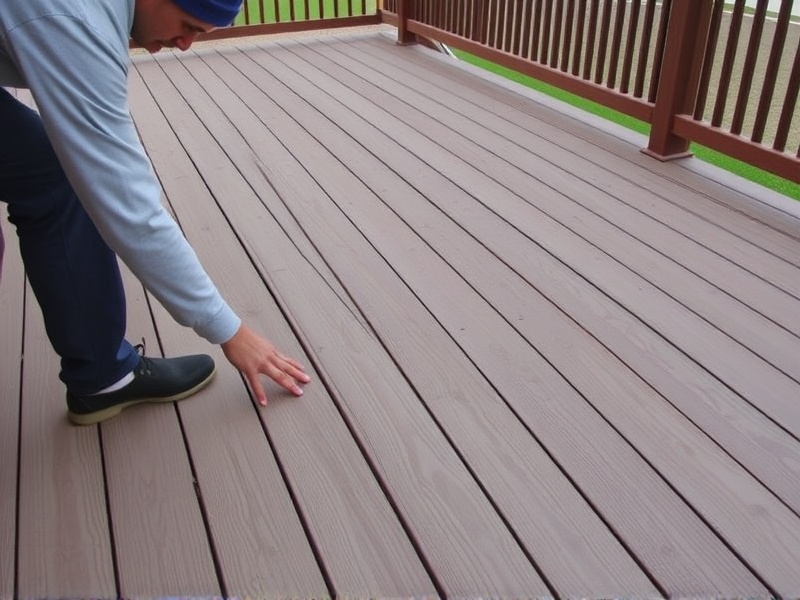
With the substructure in place, you can start attaching the WPC decking boards. Start at one end of the deck and work your way across, leaving a small gap between each board for expansion. Secure the boards using hidden fasteners or screws designed for composite materials. These fasteners minimize the appearance of screws while providing adequate support. Always follow the manufacturer’s guidelines regarding screw spacing and depth to avoid splitting the composite material. When cutting the decking boards to size, use a fine-tooth saw blade to prevent fraying and splintering.
Finishing Touches
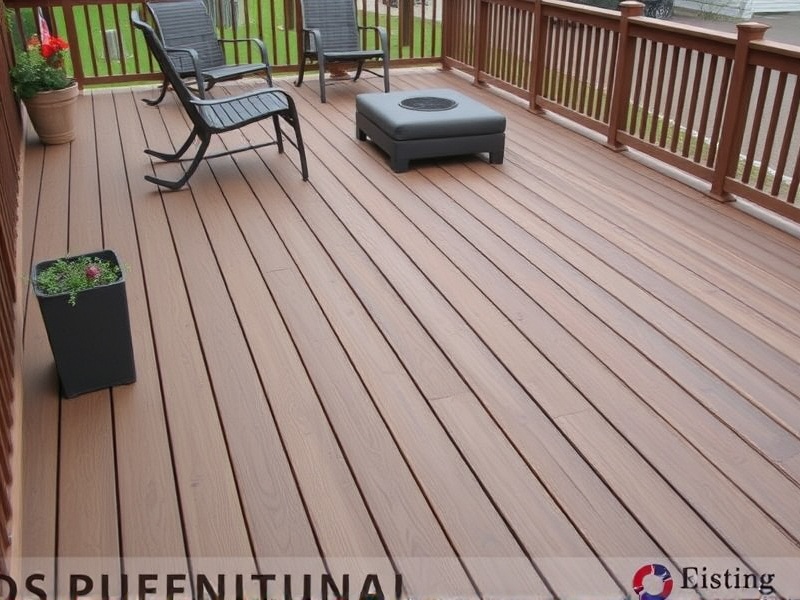
Once all the decking boards are in place, it’s time to add the finishing touches. Install the fascia boards along the edges of the deck for a clean look. Trim any overhanging boards with a trim router or circular saw. Finally, apply a coat of sealant or stain to protect the decking from weathering and enhance its appearance. Regular maintenance, such as cleaning and reapplying sealant every few years, will help extend the life of your WPC deck.
Reference
How to Install a Deck, Family Handyman
How to Build a Deck: Part 1, This Old House

Reviews
There are no reviews yet.