wpc deck installation video
Introduction
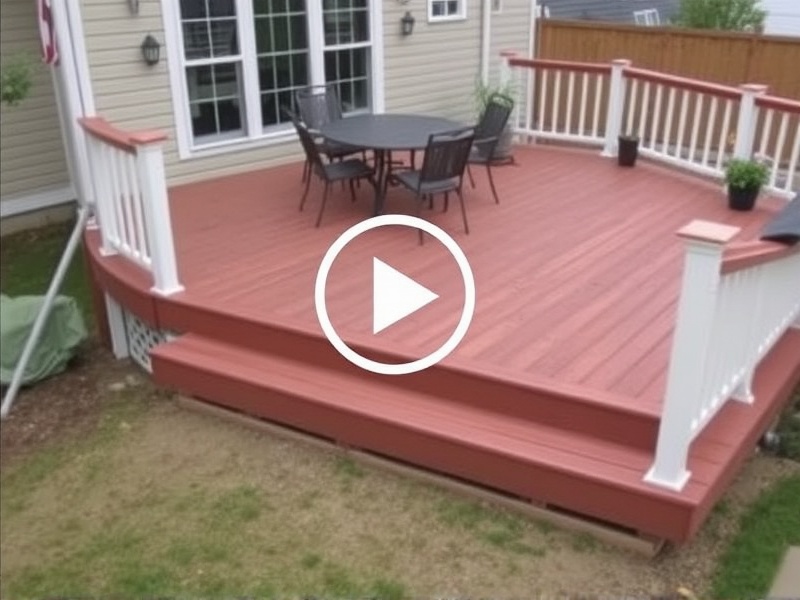
Installing a WPC (Wood Plastic Composite) deck can be a rewarding project for homeowners looking to enhance their outdoor living space. A well-made WPC deck not only adds aesthetic value but also provides a durable and low-maintenance area for relaxation and entertainment. This article will guide you through a detailed breakdown of each step shown in a typical WPC deck installation video, highlighting key points such as choosing the right location, preparing the ground, laying out the frame, attaching the decking boards, and finishing touches.
Choosing the Right Location
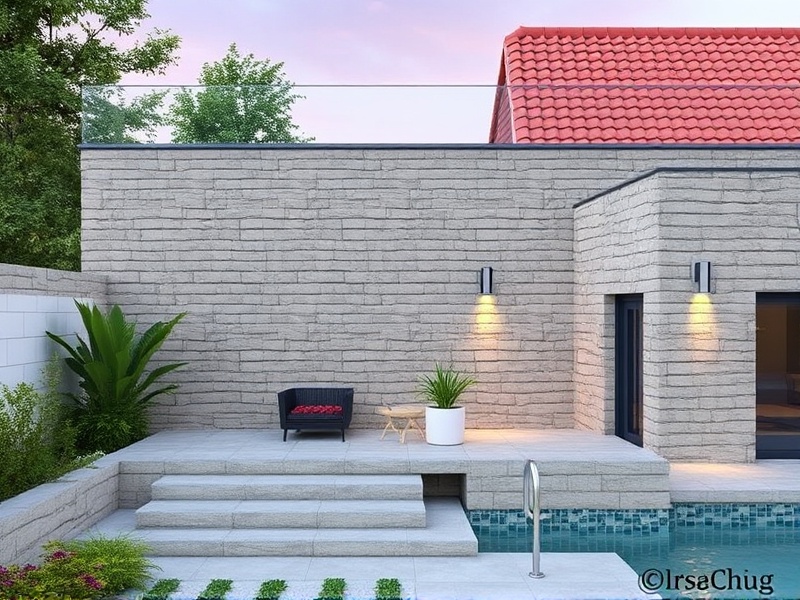
The first step in installing a WPC deck is selecting the perfect spot in your backyard or patio. The location should ideally provide ample sunlight while ensuring privacy from neighbors. It’s crucial to avoid areas prone to water accumulation or where tree roots might cause issues over time. Additionally, consider proximity to your home for easy access and aesthetics. Referencing the Home Depot guide can help in making an informed decision about the ideal placement for your new deck.
Preparing the Ground
Before laying down the foundation, it’s essential to prepare the ground thoroughly. This involves clearing the area of any debris and leveling the surface. For added stability, you may need to dig footings at specified intervals, typically every four feet along the perimeter and between the posts. Ensure these footings are poured with concrete and allowed to set properly before proceeding. The Family Handyman provides comprehensive instructions on this process, which can serve as a valuable resource for DIY enthusiasts.
Laying Out the Frame
Once the groundwork is complete, the next step is setting up the frame. This typically involves installing beams and joists using galvanized screws or nails. The spacing between joists should adhere to manufacturer recommendations, usually around 16 inches on center. Proper alignment and securing of the frame are critical for ensuring a stable and even deck surface. For more details on framing techniques, consult the Popular Mechanics guide.
Attaching the Decking Boards
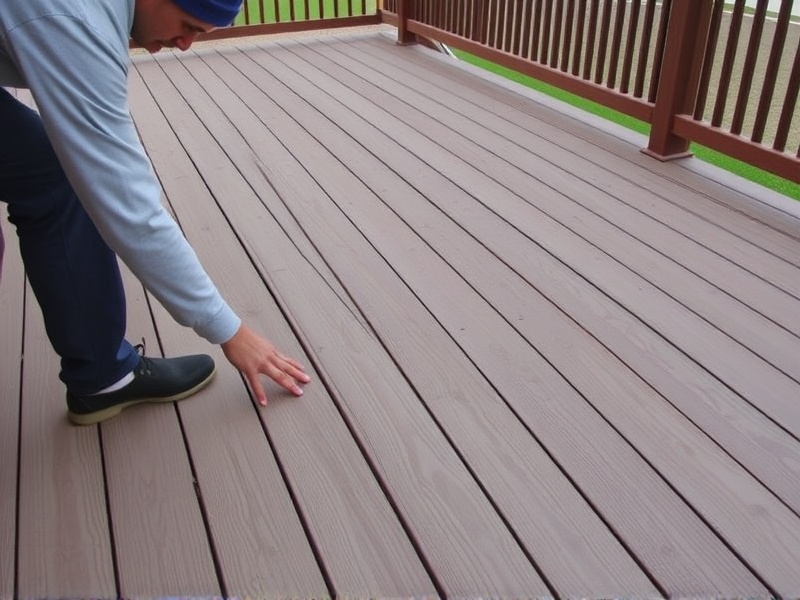
The heart of the installation process is attaching the decking boards. Start by laying the first board parallel to the house, ensuring it sits flush against the ledger board. Use hidden fasteners or screws to attach each board, maintaining consistent gaps between them for drainage. It’s important to stagger the joints of adjacent rows to prevent weak spots. Detailed instructions on this step can be found in the This Old House tutorial.
Finishing Touches
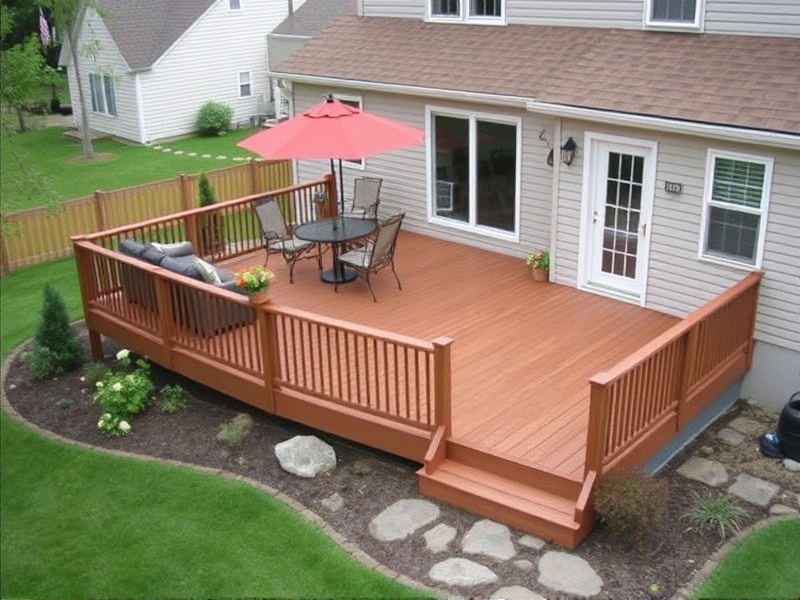
After all the decking boards are securely attached, the final steps involve adding railings, stairs, and other safety features. Sand any rough edges and apply a sealant to protect the wood plastic composite material from weather elements. Regular maintenance, including cleaning and reapplying sealant every few years, will ensure your deck remains beautiful and functional for years to come.
Reference
Home Depot Guide on Building a Deck
Family Handyman: How to Build a Deck
Popular Mechanics: Build a Deck Guide
This Old House: How to Install Decking Boards

Reviews
There are no reviews yet.