Wood Embossing Projects: From Start to Finish
Introduction
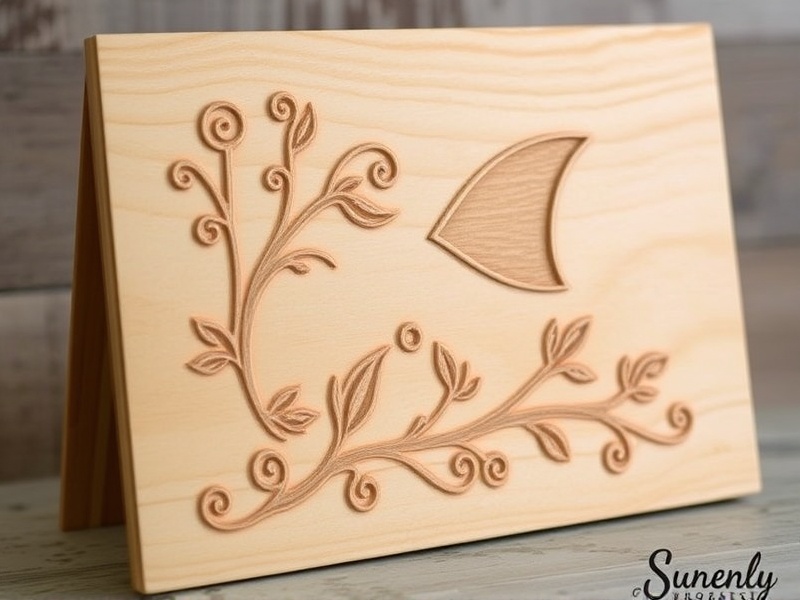
Wood embossing is a creative technique that involves creating raised designs on wood surfaces using heat and pressure. This method can transform plain wood into beautiful pieces with intricate patterns and textures. Whether you’re looking to enhance a simple wooden box or create a decorative wall panel, this guide will walk you through the entire process from start to finish, ensuring that even beginners can achieve professional results.
Material Selection
The first step in any woodworking project is selecting the right materials. For wood embossing, you’ll need a piece of wood that is smooth and free of knots for the best results. Pine, poplar, or basswood are excellent choices due to their softness and ease of working with. Avoid hardwoods like oak or maple, as they may be too dense for effective embossing. Additionally, choose an embossing tool kit that includes various shapes and sizes of embossing tools, which can help create different patterns and depths on your wood surface.
Preparation
Before starting the embossing process, it’s crucial to prepare your workspace and wood surface. Ensure your work area is clean and well-lit. Sand the wood piece thoroughly until it feels smooth to the touch. Apply a light coat of wood conditioner if needed, especially if you plan to stain or paint the wood afterward. This will prevent the wood from absorbing too much moisture during the embossing process, which could cause warping or cracking.
Application of the Embossing Process
Once your wood is ready, it’s time to begin the embossing process. Heat up your embossing tool according to the manufacturer’s instructions. Typically, these tools use a heating element to soften the wood fibers so that they can be pressed into desired shapes. Carefully apply the heated tip of the embossing tool to the wood surface, pressing down firmly to create your design. Work slowly and steadily, following the contours of your chosen pattern. Remember to keep the tool moving to avoid burning the wood.
After completing the embossing, allow the wood to cool naturally. Once cooled, you can then proceed with finishing touches such as staining, painting, or sealing the wood to protect your new creation. Be sure to follow the instructions on your chosen finish to ensure optimal results.
Conclusion
Wood embossing is a rewarding craft that allows you to add unique texture and detail to your woodworking projects. By carefully selecting your materials, preparing your workspace and wood properly, and applying the embossing process thoughtfully, you can create stunning pieces that showcase your creativity and craftsmanship. With practice, you’ll be able to tackle more complex designs and expand your skills in this fascinating art form.


Reviews
There are no reviews yet.