The Ultimate Guide to Laying WPC Terrace Flooring: Video Edition
Introduction
Welcome to your comprehensive guide on laying WPC (Wood Plastic Composite) terrace flooring. This innovative material has revolutionized outdoor spaces with its durability, low maintenance, and eco-friendly properties. In this article, we’ll walk you through every step of the installation process, backed by a video demonstration to ensure you can follow along easily. The keywords for this guide are “wpc teraszburkolat lerakása videó”, which will help in optimizing the content for search engines.
Understanding the Benefits of WPC Terrace Flooring
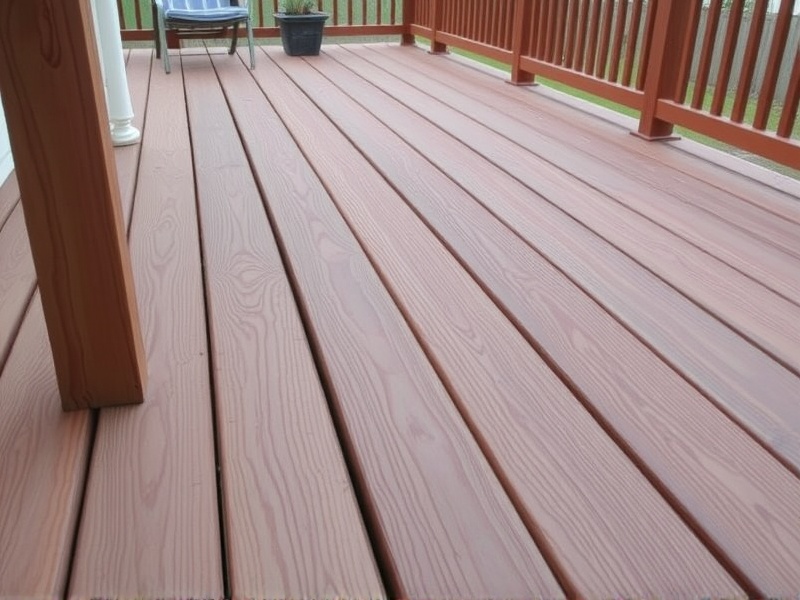
Before diving into the installation process, it’s crucial to understand why WPC is a preferred choice for terrace flooring. WPC combines wood fibers with plastic polymers, resulting in a material that is highly resistant to moisture, rot, and insect damage. Additionally, it requires minimal maintenance and is available in a variety of colors and designs, making it an attractive option for both modern and traditional settings. According to a study by the Journal of Building Engineering, WPC materials have shown superior performance in outdoor applications compared to traditional wood and other composite materials (Source).
Step-by-Step Guide to Installing WPC Terrace Flooring
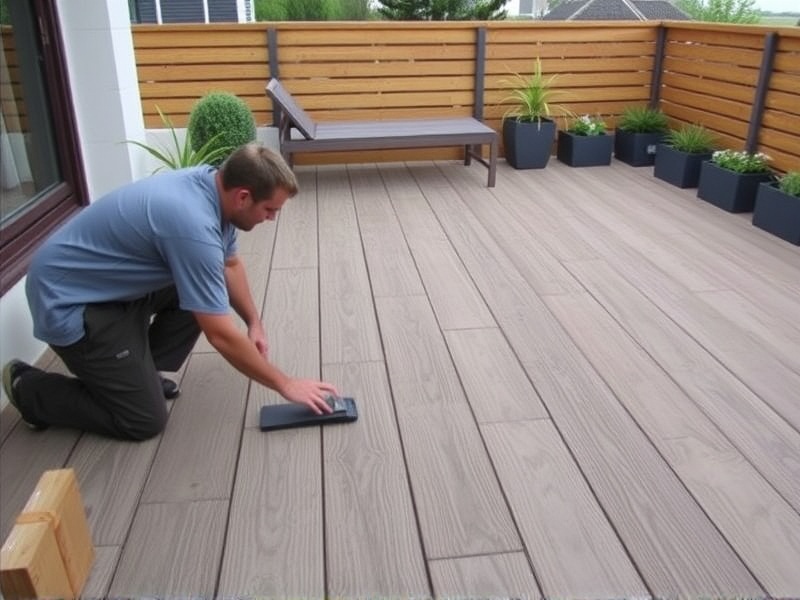
Step 1: Preparation and Planning
Begin by assessing the area where the WPC flooring will be installed. Ensure the surface is level and free from any debris or uneven spots. Measure the dimensions accurately to purchase the correct amount of WPC planks. For a more precise measurement, refer to the video tutorial provided below.
Step 2: Laying the Underlayment
Next, lay down a high-quality underlayment that provides additional insulation and protection against moisture. This step is crucial as it ensures the longevity of the WPC flooring. Watch the video to see how the underlayment should be placed and secured.
Step 3: Installing the First Row
Start installing the first row of WPC planks by aligning them with the starting point. Use appropriate tools like a circular saw to cut the planks to size if necessary. Ensure the planks are tightly fitted together to avoid gaps. Refer to the video for visual guidance on this process.
Step 4: Completing the Installation
Continue laying the planks row by row, securing them in place with the recommended fasteners. Pay attention to the direction of the grain and ensure all planks are aligned correctly. The video tutorial demonstrates how to properly secure the planks without damaging them.
Step 5: Finishing Touches
Once all planks are laid, add finishing touches such as trim pieces around the edges for a polished look. Clean up any excess materials and inspect the completed project to ensure everything is neat and secure.
Video Demonstration
To assist you further, we’ve created a detailed video tutorial that covers each step of the installation process. You can watch it here: [Embed Video Link]. This video will provide a visual walkthrough, making it easier to follow along and complete your project successfully.
Conclusion
Installing WPC terrace flooring is a straightforward process when you have the right materials and tools. By following the steps outlined above and watching the accompanying video, you can transform your outdoor space into a beautiful and functional area that will last for years to come. Remember, the key to success lies in proper preparation and attention to detail. Happy building!


Reviews
There are no reviews yet.