The Installation Process of WPC Privacy Fences
Introduction
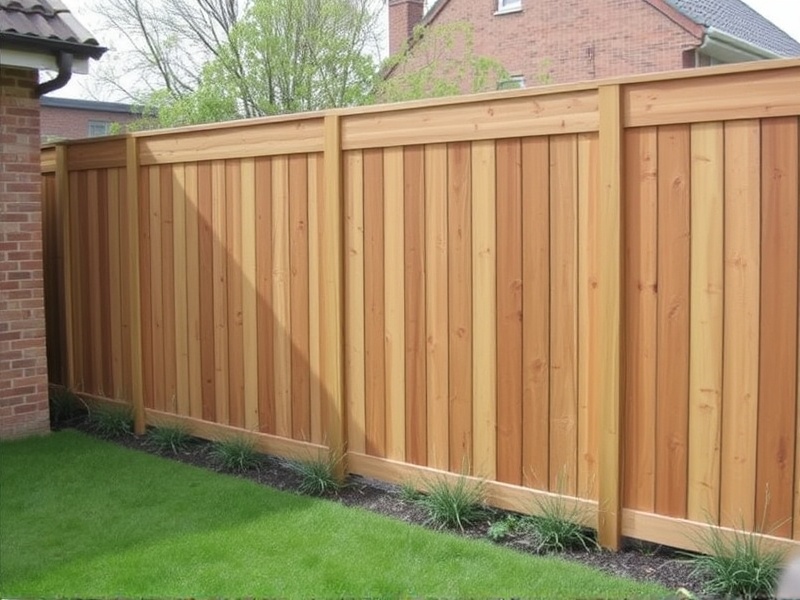
Wood-Plastic Composite (WPC) privacy fences have gained popularity due to their durability, low maintenance, and eco-friendly nature. These fences are an excellent choice for homeowners looking to enhance the privacy and aesthetic appeal of their properties. This comprehensive guide will walk you through the installation process of a WPC privacy fence, from gathering the necessary tools to achieving a professional finish.
Necessary Tools and Materials
To successfully install a WPC privacy fence, you’ll need a variety of tools and materials. The essential tools include a tape measure, level, post hole digger, circular saw, drill, screwdriver, and safety gear like gloves and goggles. Additionally, you’ll require WPC boards, concrete mix, screws, and posts. Make sure all materials are of high quality to ensure longevity and a polished look.
Preparation Steps
Before starting the installation, it’s crucial to plan the layout of your fence. Measure the area where the fence will be installed and mark the corners with stakes and string. Check local building codes and regulations regarding fence height and placement. Digging holes for the posts is the next step; typically, these should be about one-third the height of the fence below ground level. For instance, if your fence is 6 feet tall, the holes should be approximately 2 feet deep. Ensure that each hole is wide enough to accommodate the post and allow for proper alignment.
Tips for Achieving a Professional Finish
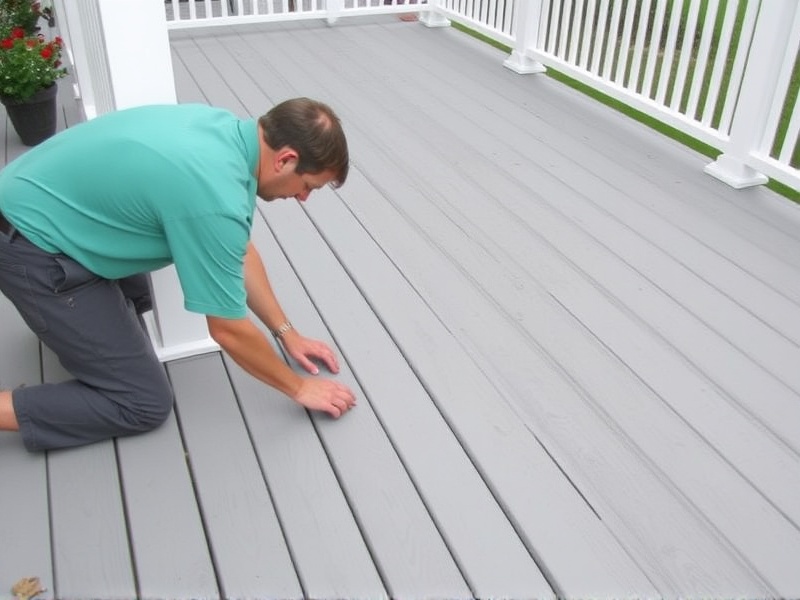
Once the posts are in place and the concrete has set, it’s time to attach the WPC boards. Start by attaching the bottom rail to the inside of the posts using screws. Then, attach the top rail following the same method. The vertical boards can now be attached, starting at one corner and working your way around. Use screws to secure each board, ensuring they are tightly fastened and aligned correctly. To achieve a professional look, use a level to check the alignment of the boards regularly.
For added stability and aesthetics, consider adding a cap rail across the top of the fence. This not only enhances the appearance but also helps protect the fence from weather damage. Finally, inspect your work for any gaps or uneven areas and make adjustments as needed.
Reviews
There are no reviews yet.