
Installation Techniques for Composite Batten Cladding
Introduction
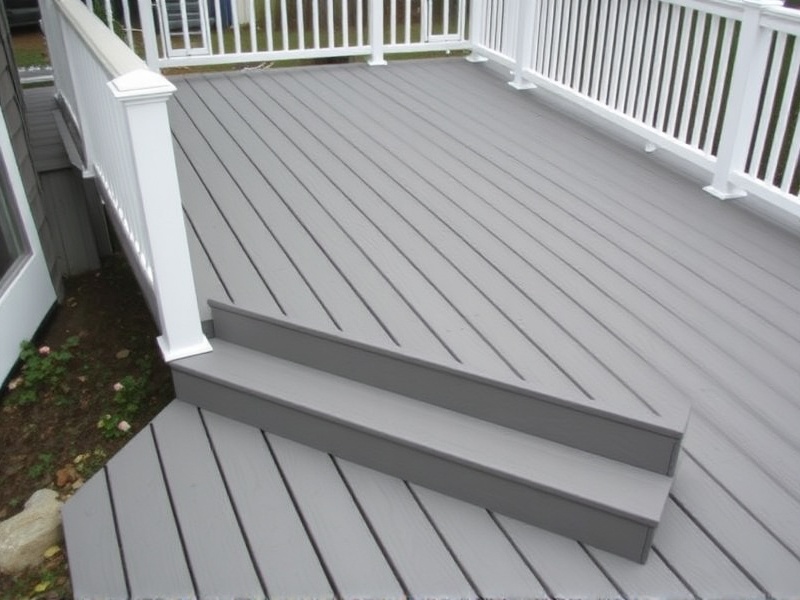
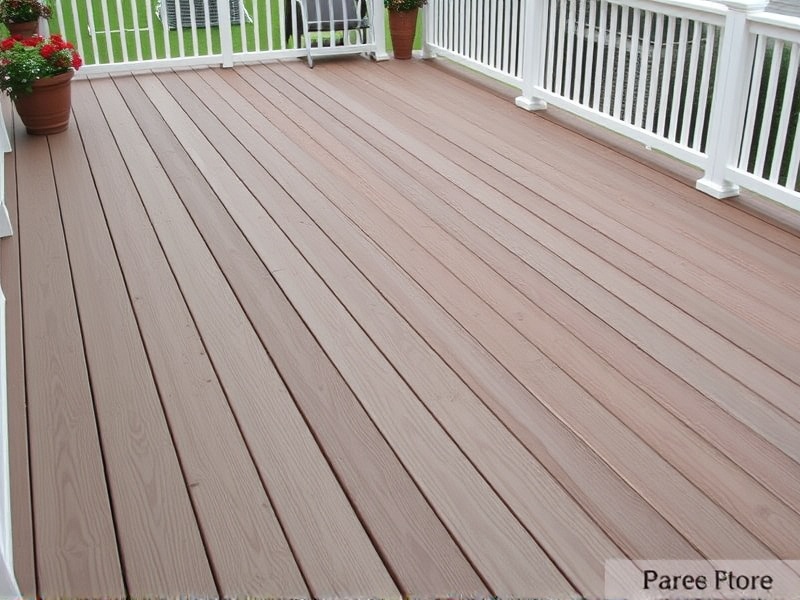
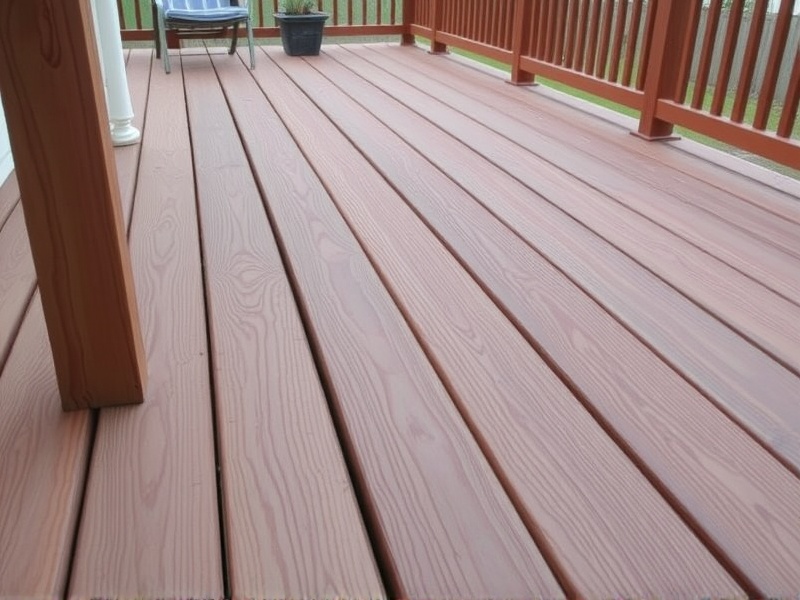
Composite batten cladding is a popular choice in modern construction due to its durability, low maintenance, and aesthetic appeal. It offers a robust solution for both residential and commercial buildings, providing excellent weather protection while maintaining an elegant appearance. This article provides a detailed, step-by-step guide on how to install composite batten cladding, along with tips for ensuring proper alignment, fastening, and finishing touches.
Step-by-Step Guide to Installing Composite Batten Cladding
Preparation and Planning
Before starting the installation process, it’s essential to prepare your site thoroughly. Begin by measuring the area where you intend to install the composite batten cladding. Ensure that the surface is clean, dry, and free from any debris or protrusions that could interfere with the installation. Additionally, gather all necessary tools and materials, including composite battens, screws, a drill, a level, and safety equipment such as gloves and goggles.
Installing the Battens
The first step in installing composite batten cladding is to install the battens themselves. Start by marking out a straight line along the wall at the height where you want the bottom of the cladding to be. Use a spirit level to ensure that this line is perfectly horizontal. Next, attach the battens to the wall using screws, making sure they are spaced evenly according to the manufacturer’s specifications. Proper spacing is crucial for ensuring the correct alignment of the composite panels later on.
Installing the Composite Panels
Once the battens are securely in place, it’s time to start installing the composite panels. Begin by cutting the panels to size using a circular saw. When cutting, make sure to wear appropriate safety gear, including eye and ear protection. Position the first panel at the bottom of the wall, aligning it with the battens. Secure the panel to the battens using screws, ensuring that they are evenly spaced and tight enough to hold the panel firmly but not so tight as to damage the material. Repeat this process, overlapping each subsequent panel slightly over the previous one, until the entire wall is covered.
Finishing Touches
To complete the installation, pay attention to the final details. Trim any excess material around the edges of the panels using a utility knife. Install trim caps or other finishing elements to cover any exposed edges and provide a neat finish. Finally, inspect the entire installation for any gaps or misalignments and make adjustments as needed. This will ensure that your composite batten cladding looks professional and functions effectively.
Tips for Ensuring Proper Alignment, Fastening, and Finishing
Proper alignment is critical when installing composite batten cladding. Use a level frequently during the installation process to ensure that everything remains straight. When fastening the panels, use screws specifically designed for composite materials to avoid cracking or splitting the panels. Lastly, take care when finishing the edges; precise trimming can greatly enhance the overall appearance of your project.
Reference Materials
For more detailed information on composite batten cladding installation, refer to the following resources:
Technical Guide to Composite Batten Cladding, Build Magazine.
Installation of Composite Batten Cladding, Construction World.

Reviews
There are no reviews yet.