
Installation Guide: How to Lay Interlocking Composite Decking Tiles
Introduction
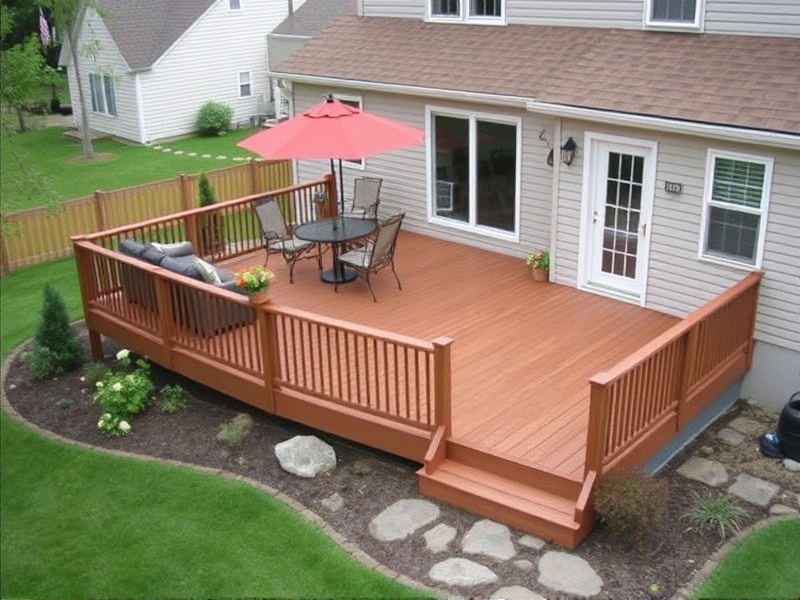
Interlocking composite decking tiles are a popular choice for creating outdoor living spaces due to their durability, low maintenance, and aesthetic appeal. These tiles offer an easy-to-install alternative to traditional wood decks, making them ideal for DIY enthusiasts. This guide will walk you through the entire process of installing interlocking composite decking tiles, from preparing your surface to laying down the final tile.
Preparing the Surface
The first step in laying interlocking composite decking tiles is ensuring that the surface underneath is clean, level, and free from debris. Start by clearing the area where the deck will be installed, removing any grass, weeds, or rocks. If you’re working with a concrete or asphalt surface, make sure it is smooth and even. For wooden surfaces, check for any rot or damage and replace damaged boards before proceeding.
It’s also crucial to consider drainage. Ensure there is proper slope to allow water to flow away from the deck, preventing standing water which can damage the tiles over time. Consult local building codes for specific recommendations on drainage requirements.
Laying Down the Tiles
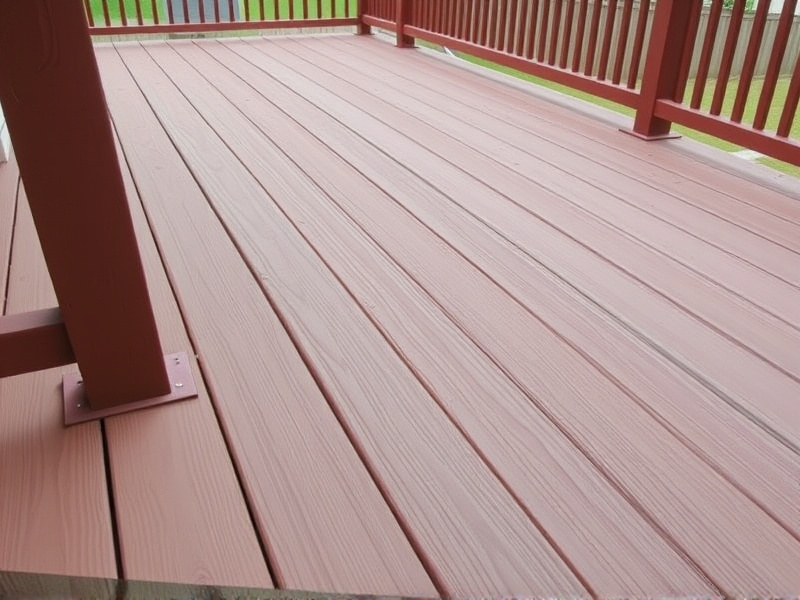
Once your surface is ready, begin by laying out the first row of tiles along a straight line. Use a chalk line to mark a straight guideline if necessary. The interlocking design of these tiles makes them easy to align and connect, but precise placement is key to achieving a professional finish.
Start at one end of the deck and work your way across, locking each tile into place as you go. Be mindful of the spacing between tiles; while interlocking composite decking tiles typically have built-in gaps, you may need to adjust slightly depending on the specific product you’re using. Consistent spacing ensures a uniform appearance and allows for natural expansion and contraction of the materials.
Tips on Alignment and Finishing Touches
To ensure alignment, use a square to check that each corner meets at right angles. This is especially important when laying tiles around obstacles like planters or pillars. For a seamless look, try to maintain a consistent gap between the tiles and any fixed structures.
When reaching the edges of your deck, you might need to cut some tiles to fit. Use a circular saw or a jigsaw equipped with a fine-tooth blade designed for composite materials. Always wear appropriate safety gear, including goggles and gloves, when cutting materials.
Finishing Touches
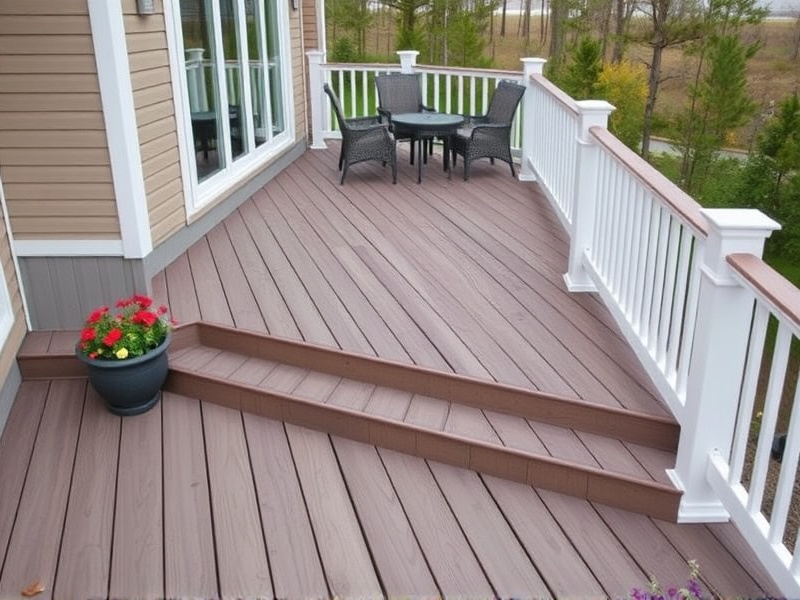
After all tiles are laid, take a moment to inspect your work. Look for any misaligned tiles or gaps that need adjustment. Once satisfied, you can add finishing touches such as trim pieces around the perimeter. These not only enhance the appearance but also protect the edges of your deck from damage.
Regular cleaning and occasional resealing will help extend the life of your interlocking composite deck. Follow the manufacturer’s instructions for care and maintenance to keep your deck looking its best for years to come.

Reviews
There are no reviews yet.