Building Your Own Custom WPC Pinball Cabinet: A Step-by-Step Guide
Introduction to Building Your Own WPC Pinball Cabinet
Building your own custom WPC (Williams Pinball Controller) pinball cabinet is an ambitious project that can be both rewarding and challenging. This guide will walk you through the entire process, from choosing your design and sourcing components to the final assembly and testing stages. Whether you’re a seasoned DIY enthusiast or new to woodworking, this step-by-step guide will provide valuable insights and practical tips for creating your dream pinball machine.
Design Choices and Planning
Before diving into the construction of your WPC pinball cabinet, it’s crucial to plan out the design thoroughly. The first decision you’ll need to make is whether you want to build a full-size cabinet or a smaller version. Full-size cabinets are more authentic but require more space and materials. Smaller versions can fit in tight spaces and are often easier to transport. You should also decide on the theme of your pinball machine, which will influence the color scheme and artwork.
Research existing designs online or visit local arcades to get ideas for your cabinet. Once you have a clear vision, sketch out your design on paper or use software like SketchUp to create a digital model. This will help you visualize the finished product and ensure all measurements are accurate.
Sourcing Components for Your WPC Pinball Cabinet
The next step is to gather all the necessary components for your WPC pinball cabinet. Key components include the cabinet itself, playfield, backglass, flipper mechanisms, lights, and electronic components such as the WPC controller board. You can find many of these parts second-hand from online marketplaces, local pinball repair shops, or hobbyist groups. Be sure to inspect each component carefully before purchasing to ensure they are in good condition.
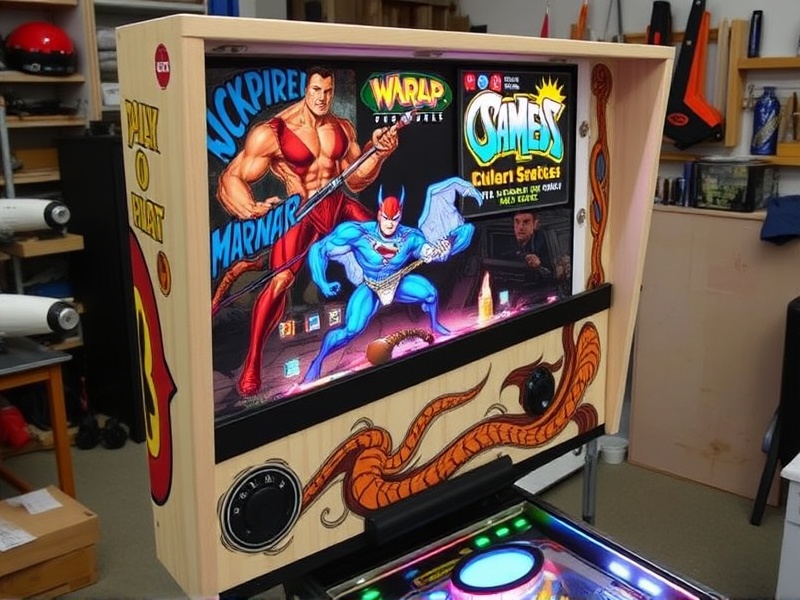
For the cabinet itself, you can either purchase pre-made kits or build one from scratch using plywood. If you choose to build from scratch, measure and cut the wood according to your design specifications. Sand down rough edges and apply primer and paint to achieve the desired finish.
Assembly Techniques for Your WPC Pinball Cabinet
Once you have all the components, it’s time to start assembling your WPC pinball cabinet. Begin by installing the playfield into the cabinet frame. Secure it using brackets and ensure it is level. Next, attach the legs and side rails, making sure everything is aligned properly. Install the flipper mechanisms and wiring harnesses, following the manufacturer’s instructions closely.
The backglass and playfield artwork can be added last. These elements not only enhance the aesthetic appeal but also contribute to the overall gameplay experience. Ensure all lights and sound systems are connected correctly and tested before final assembly.
Testing and Troubleshooting
After assembly, it’s important to test every aspect of your WPC pinball cabinet thoroughly. Power up the machine and check if all lights, sounds, and mechanics function as expected. Pay special attention to the flipper mechanisms and ball movement. Troubleshoot any issues that arise, consulting forums and online resources for guidance.
If you encounter significant problems, don’t hesitate to reach out to experienced builders or join online communities dedicated to DIY pinball machines. These resources can provide invaluable support and advice.
Conclusion
Building your own custom WPC pinball cabinet is a rewarding endeavor that combines creativity, craftsmanship, and technical skill. By carefully planning your design, sourcing high-quality components, and following proper assembly techniques, you can create a unique gaming experience that reflects your personal style. Remember, patience and attention to detail are key throughout the entire process.
Reference
Pin Repair: An excellent resource for pinball machine repairs and DIY projects.
IPDB – Internet Pinball Database: A comprehensive database with information on various pinball machines and components.


Reviews
There are no reviews yet.