Installing AZEK Composite Decking in Canada: A Step-by-Step Guide
Introduction
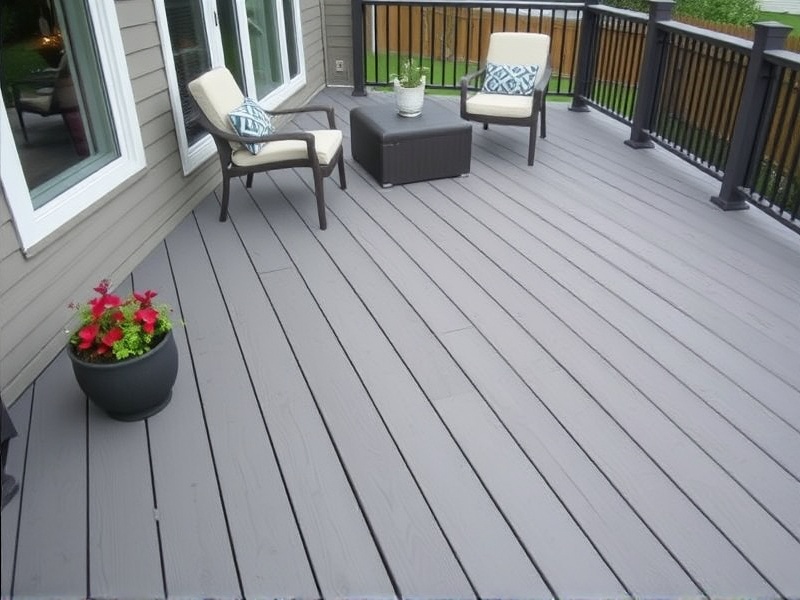
AZEK composite decking is a popular choice for homeowners looking for a low-maintenance, durable, and aesthetically pleasing outdoor living space. However, installing it in Canada requires careful consideration of the unique climate conditions. This guide will provide you with a comprehensive step-by-step process, recommended tools, and specific considerations for installing AZEK composite decking in Canada.
Recommended Tools and Materials
To successfully install AZEK composite decking in Canada, you’ll need the following materials and tools:
- AZEK composite boards
- Lumber for joists and framing
- Screws specifically designed for composite decking (such as TimberTech Hidden Fasteners or Azek Deck Screws)
- Measuring tape
- Level
- Circular saw or miter saw
- Drill
- Jigsaw or handsaw
- Gloves and safety glasses
Installation Steps
Step 1: Planning and Preparation
The first step in installing your deck is planning and preparation. Ensure that you have a clear understanding of the dimensions and layout of your deck. It’s essential to consider the slope of your yard, drainage, and the location of utilities before beginning construction. Check local building codes and obtain necessary permits before starting your project.
Step 2: Building the Frame
Create a sturdy frame using pressure-treated lumber. Make sure the frame is level and square. Space the joists according to the manufacturer’s recommendations (typically 16 inches on center). Use metal brackets and screws to secure the frame together.
Step 3: Installing the Joist Hangers
Attach the joist hangers to the ledger board and floor joists using galvanized nails or screws. This will ensure a strong connection between the deck and the house.
Step 4: Laying the Deck Boards
Start laying the AZEK composite decking boards perpendicular to the joists. Leave a small gap (about 1/8 inch) between each board to allow for expansion and contraction due to temperature changes. Secure the boards using screws or hidden fasteners, making sure they are evenly spaced and flush with the outer edge of the deck.
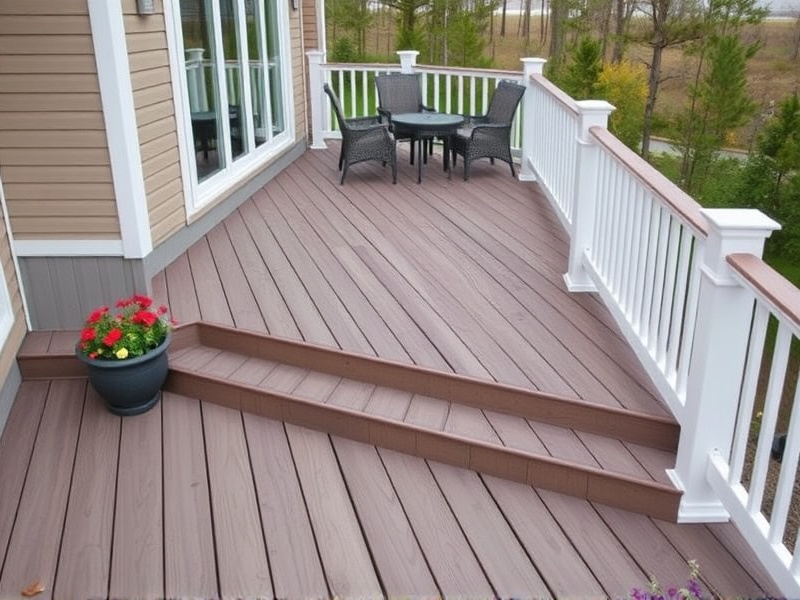
Step 5: Finishing Touches
Complete the installation by adding trim boards around the perimeter of the deck and sealing any gaps with caulk. You may also want to add railings and stairs depending on the design of your deck.
Specific Considerations for Canadian Climates
When installing AZEK composite decking in Canada, it’s crucial to account for the country’s diverse climate conditions. Extreme cold temperatures can cause materials to contract, while hot summers can lead to expansion. Therefore, leaving proper spacing between boards is vital to prevent warping and cracking. Additionally, regular cleaning and maintenance are necessary to remove snow and ice during winter months.
Conclusion
Installing AZEK composite decking in Canada can be a rewarding DIY project if done correctly. By following these steps and taking into account the unique climate conditions, you can create an attractive and durable outdoor living space that will last for years to come.


Reviews
There are no reviews yet.